Dancing Robot
Project Details:
Microcontroller: Ardhino Uno R1
Outer Body: 3D Printed Parts
Other Parts: Leds, Servo Motors, Buzzer
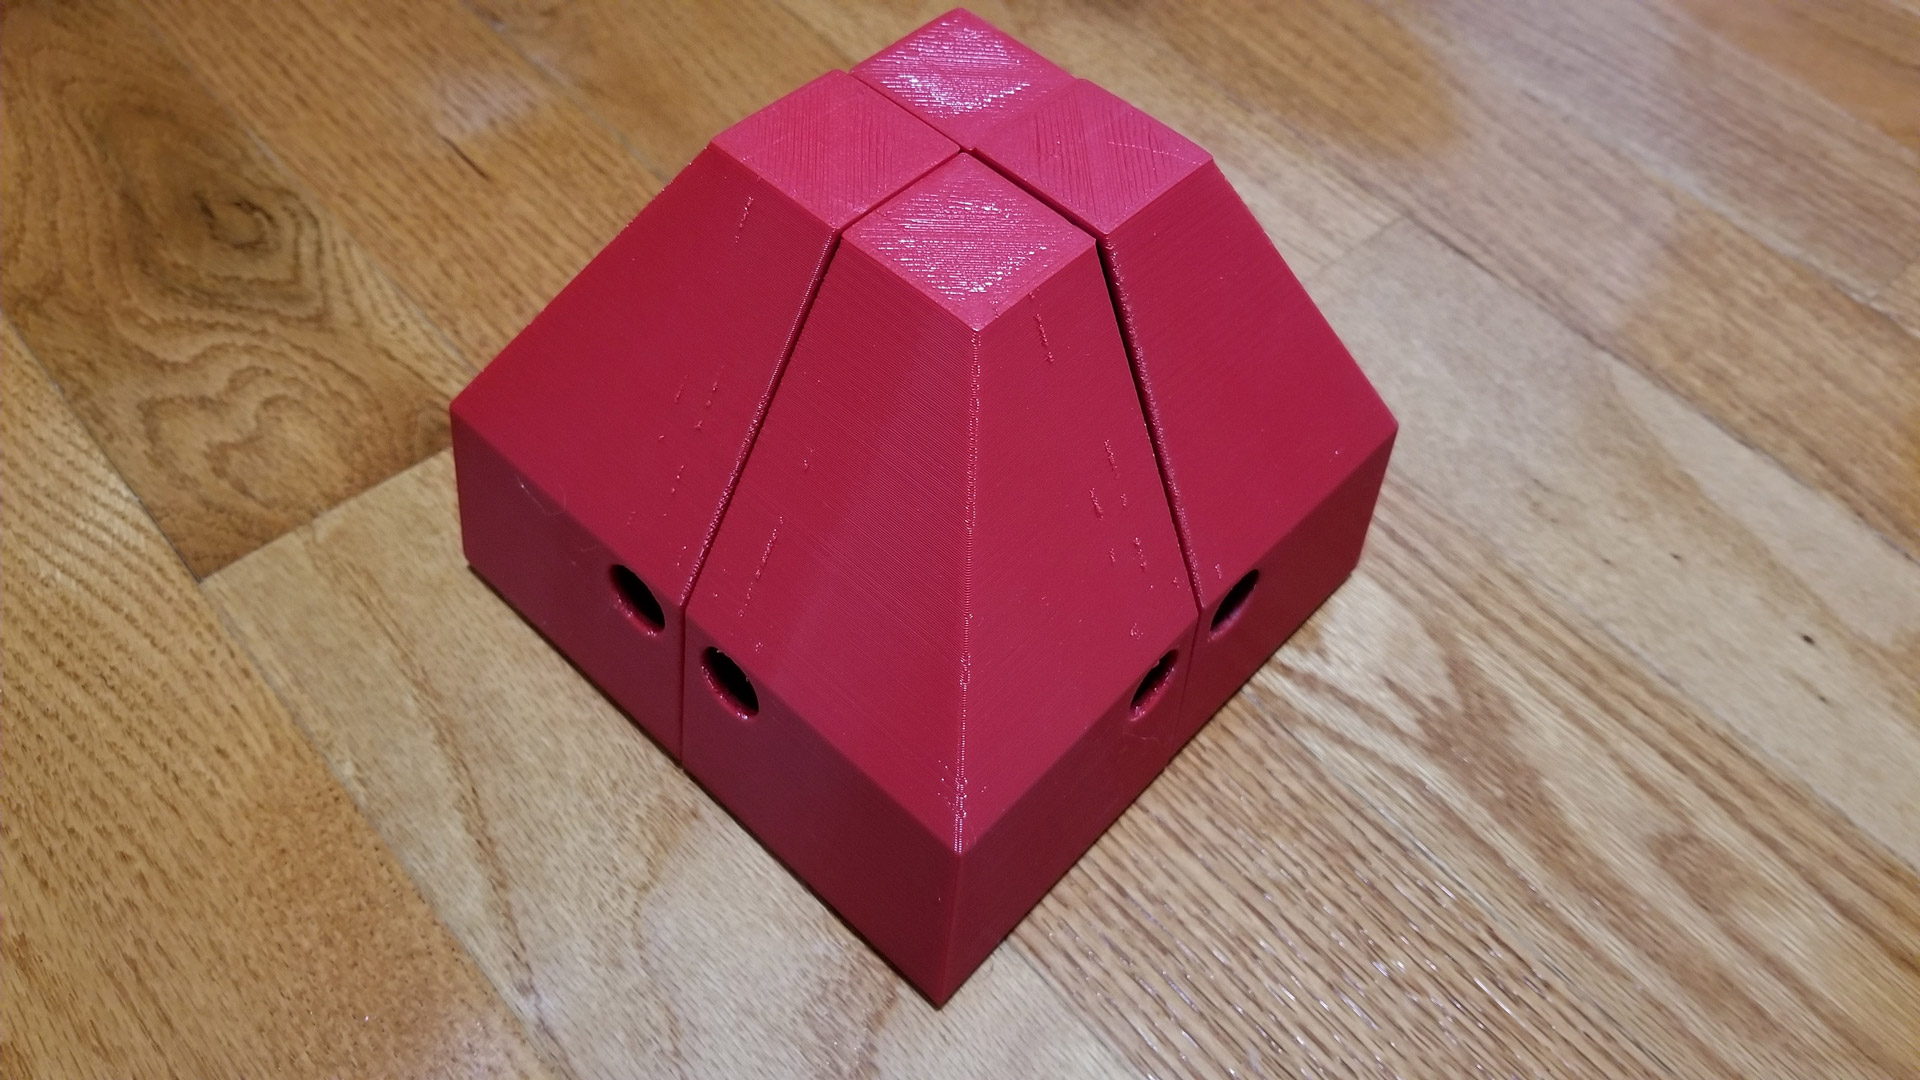
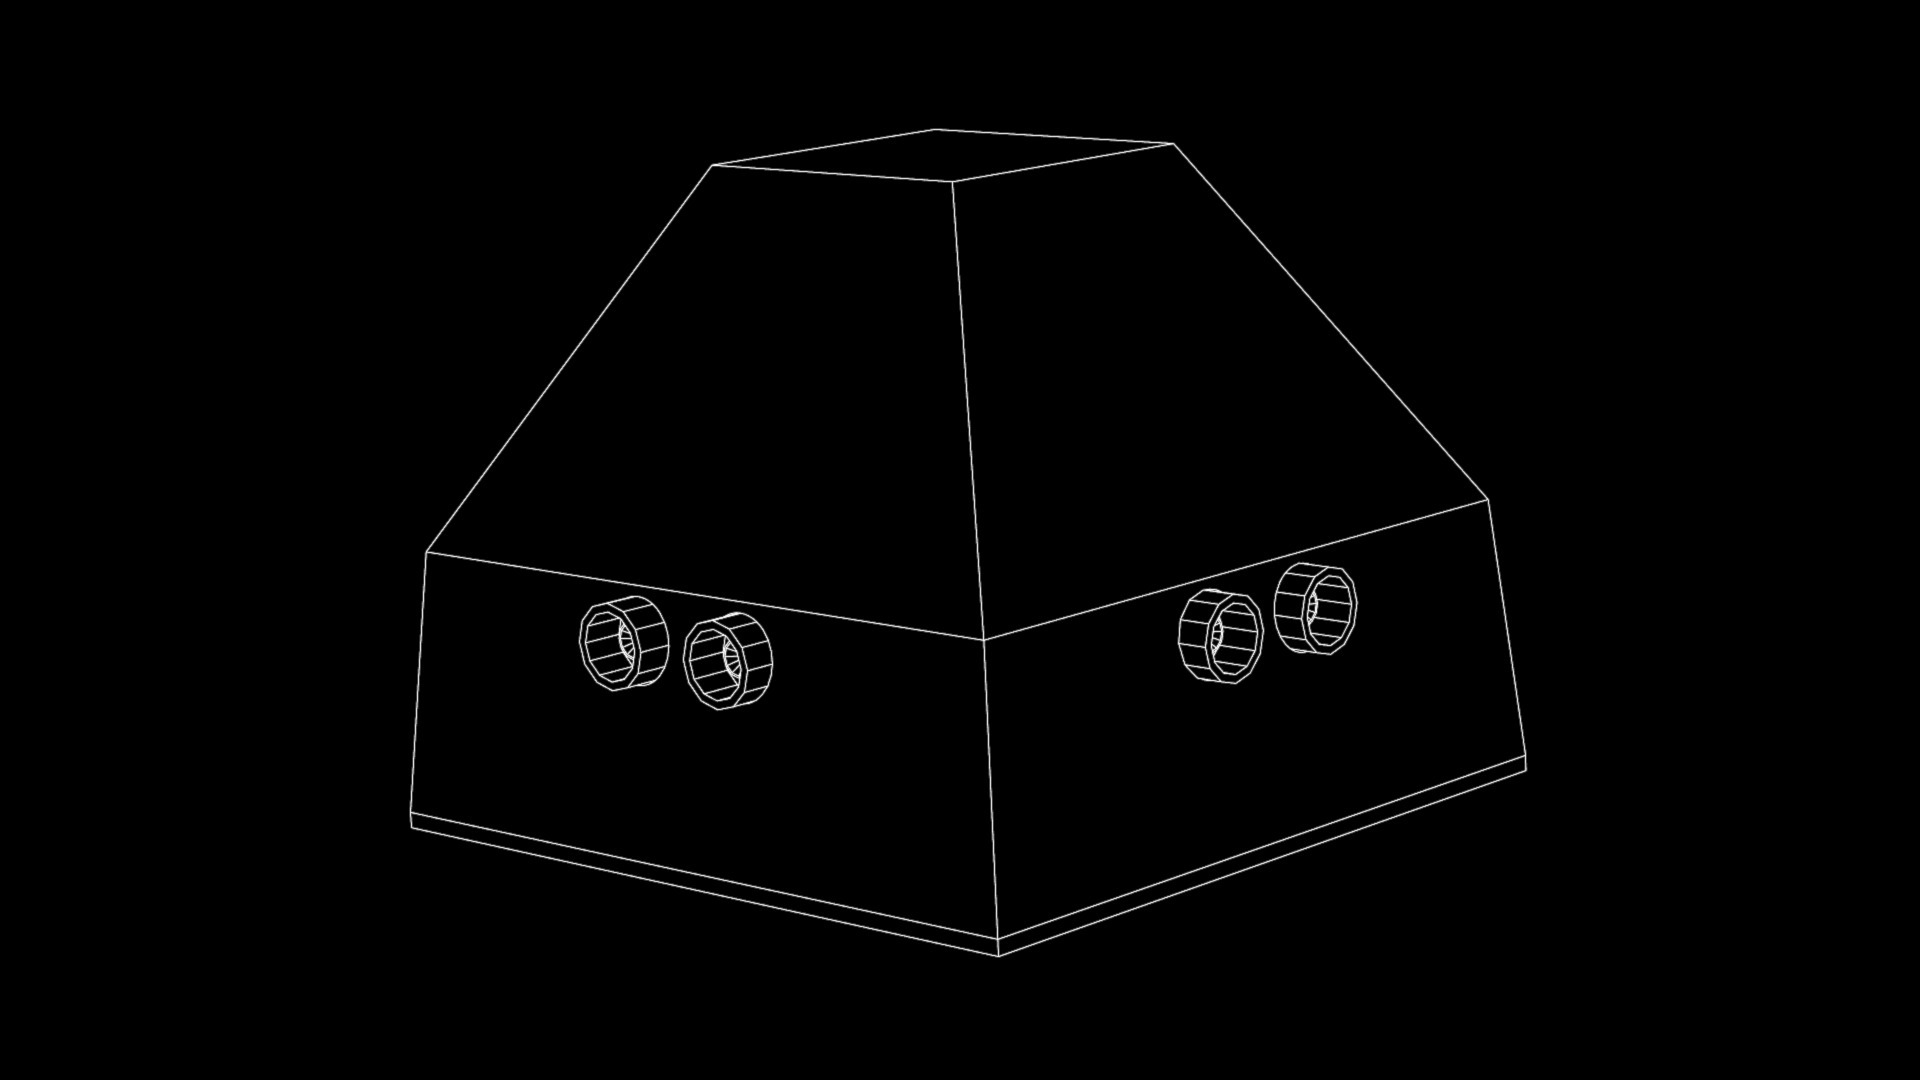
The dancing robot was my final project at Exceed Robotics. The robot's objective was to perform a dance synced to a song. We were only given a basic model that we could freely edit. My first design change was to replace the distance sensor used for eyes with red LEDs to give it more of a sci-fi robot appearance. My second change was to increase the size of the head model laterally to accommodate an Arduino Uno microcontroller. This was done as I noticed many other students didn’t have their Arduino self-contained within the robot. In my opinion that defeated the purpose of the project as without it being self-contained, it would have to be tethered externally limiting the range of movement. My third and final change was to have the robot emit its own music. Sequencing movement to another sound source was fairly difficult. You would need to start on the right beat as well as time the movements down to milliseconds. Instead, I programmed the robot to emit its own music through a buzzer so that any movements or special effects could be sequenced simultaneously while playing the song.
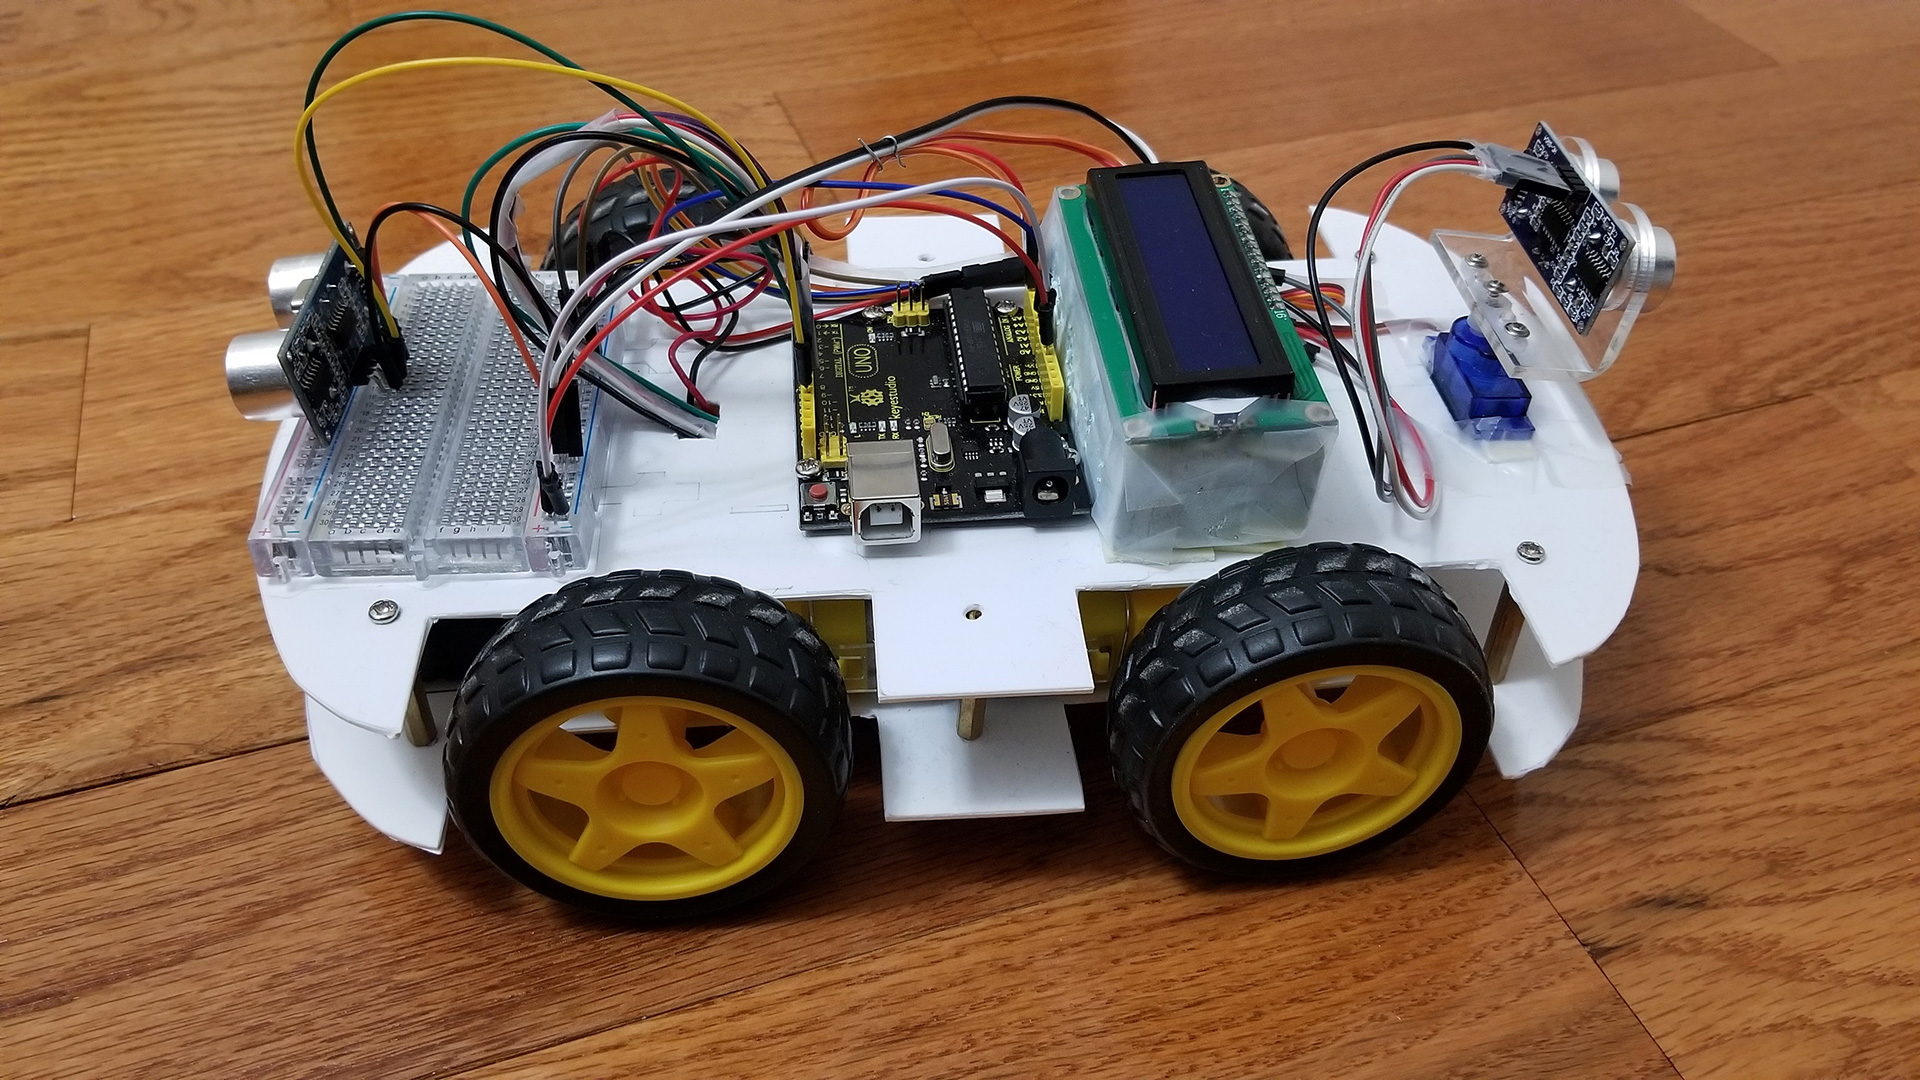
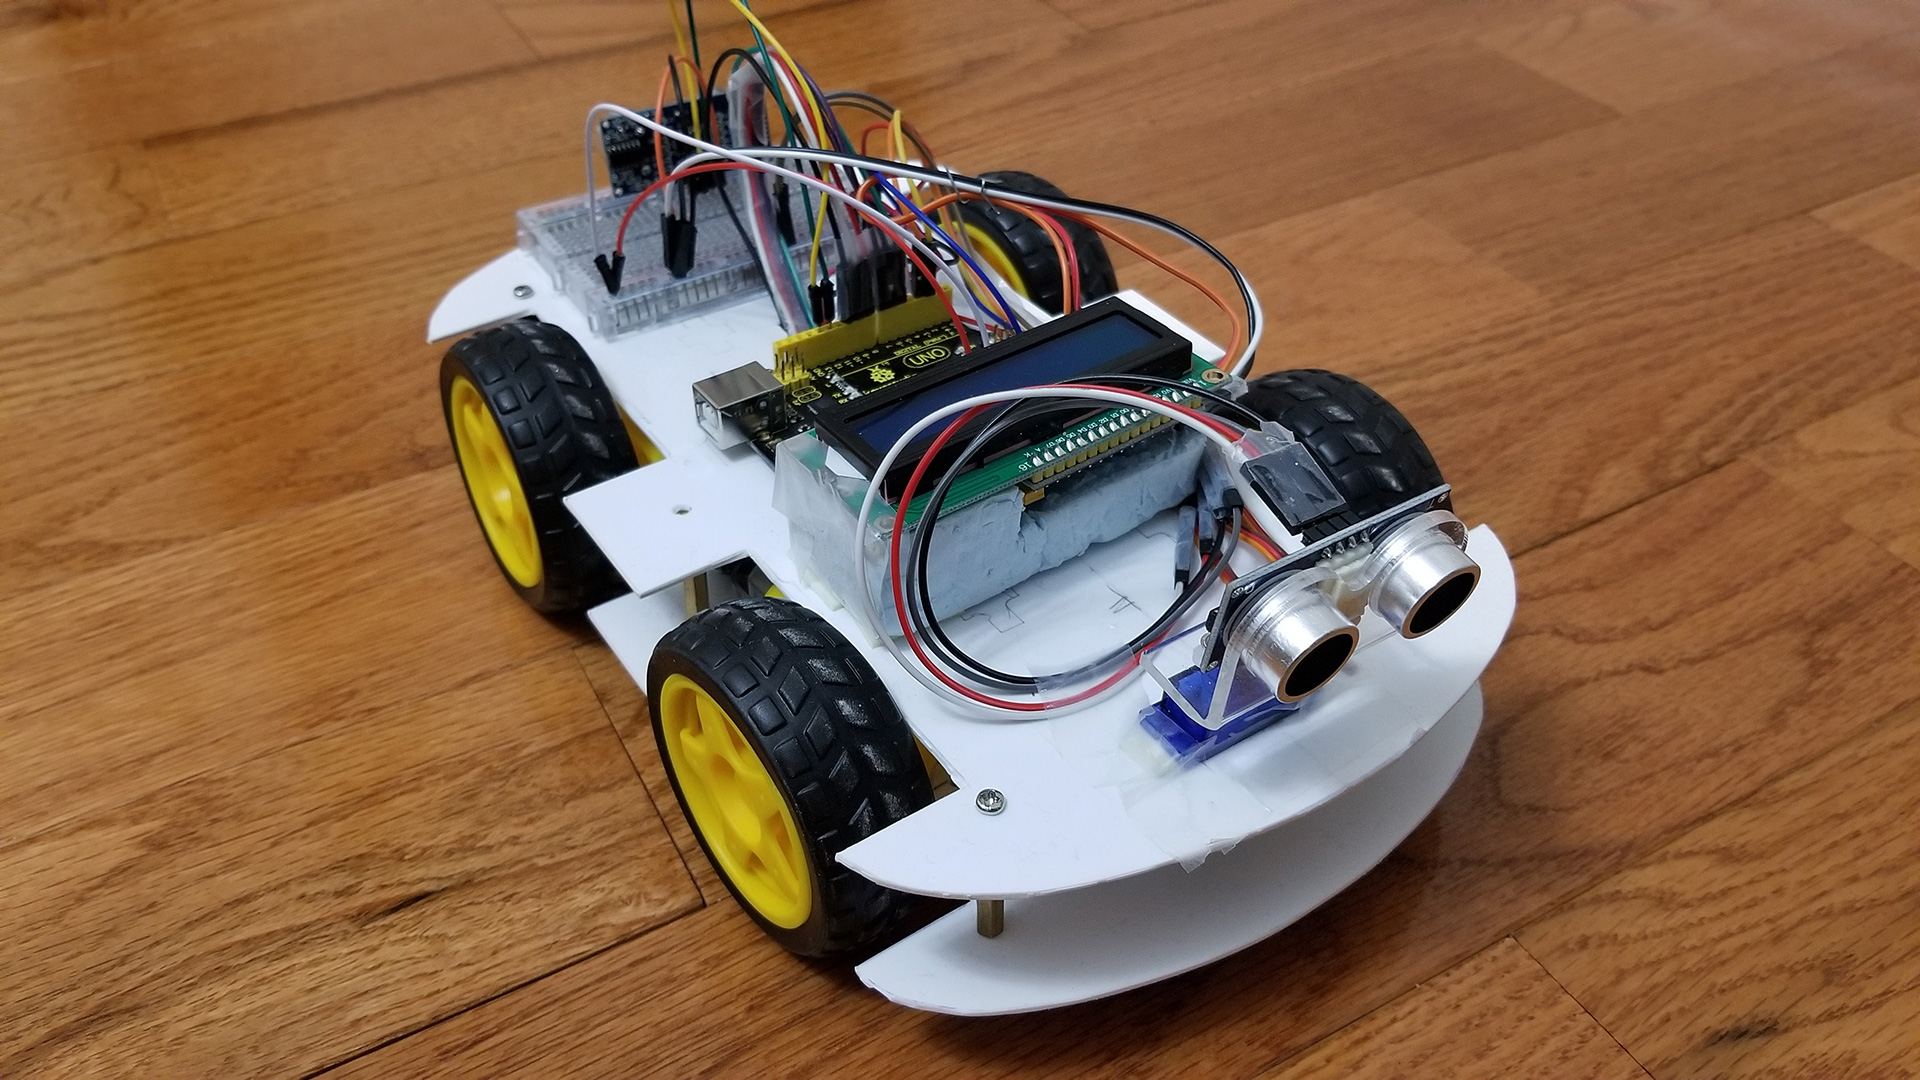
Rover
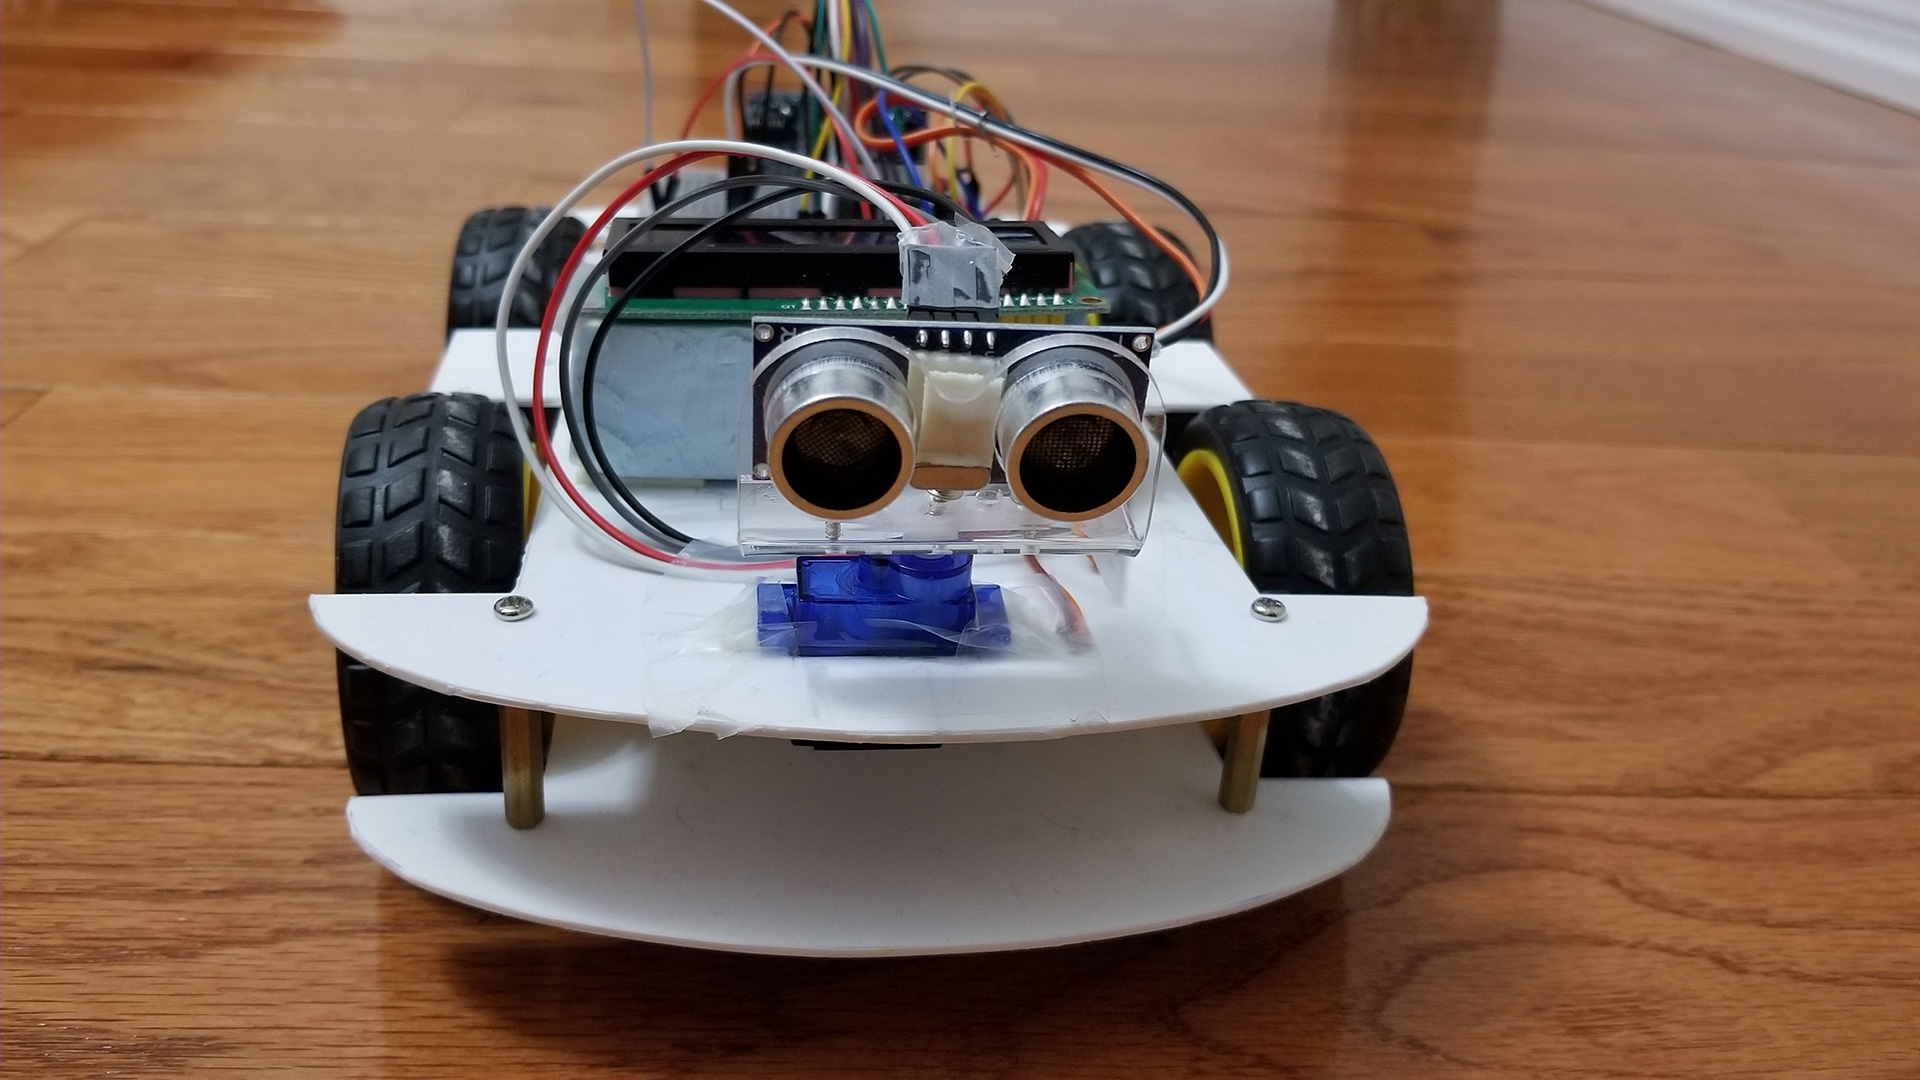
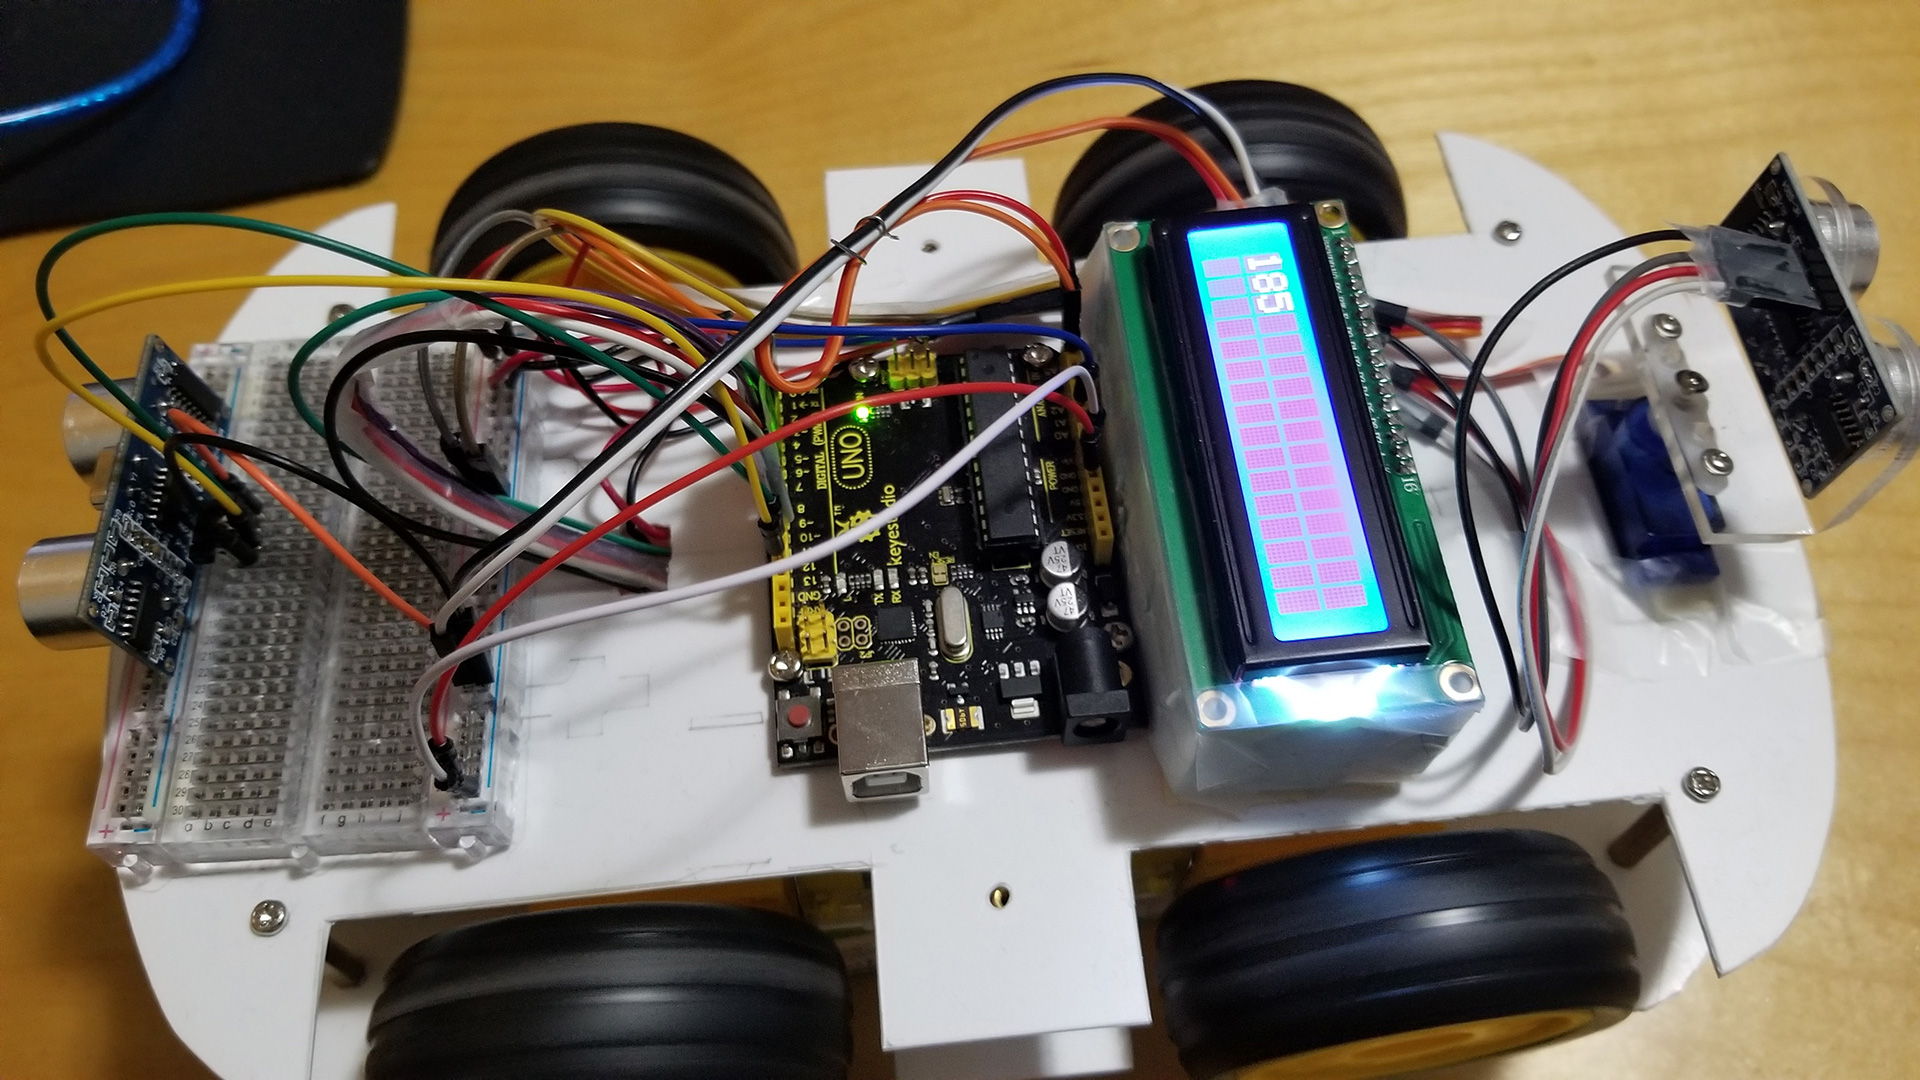
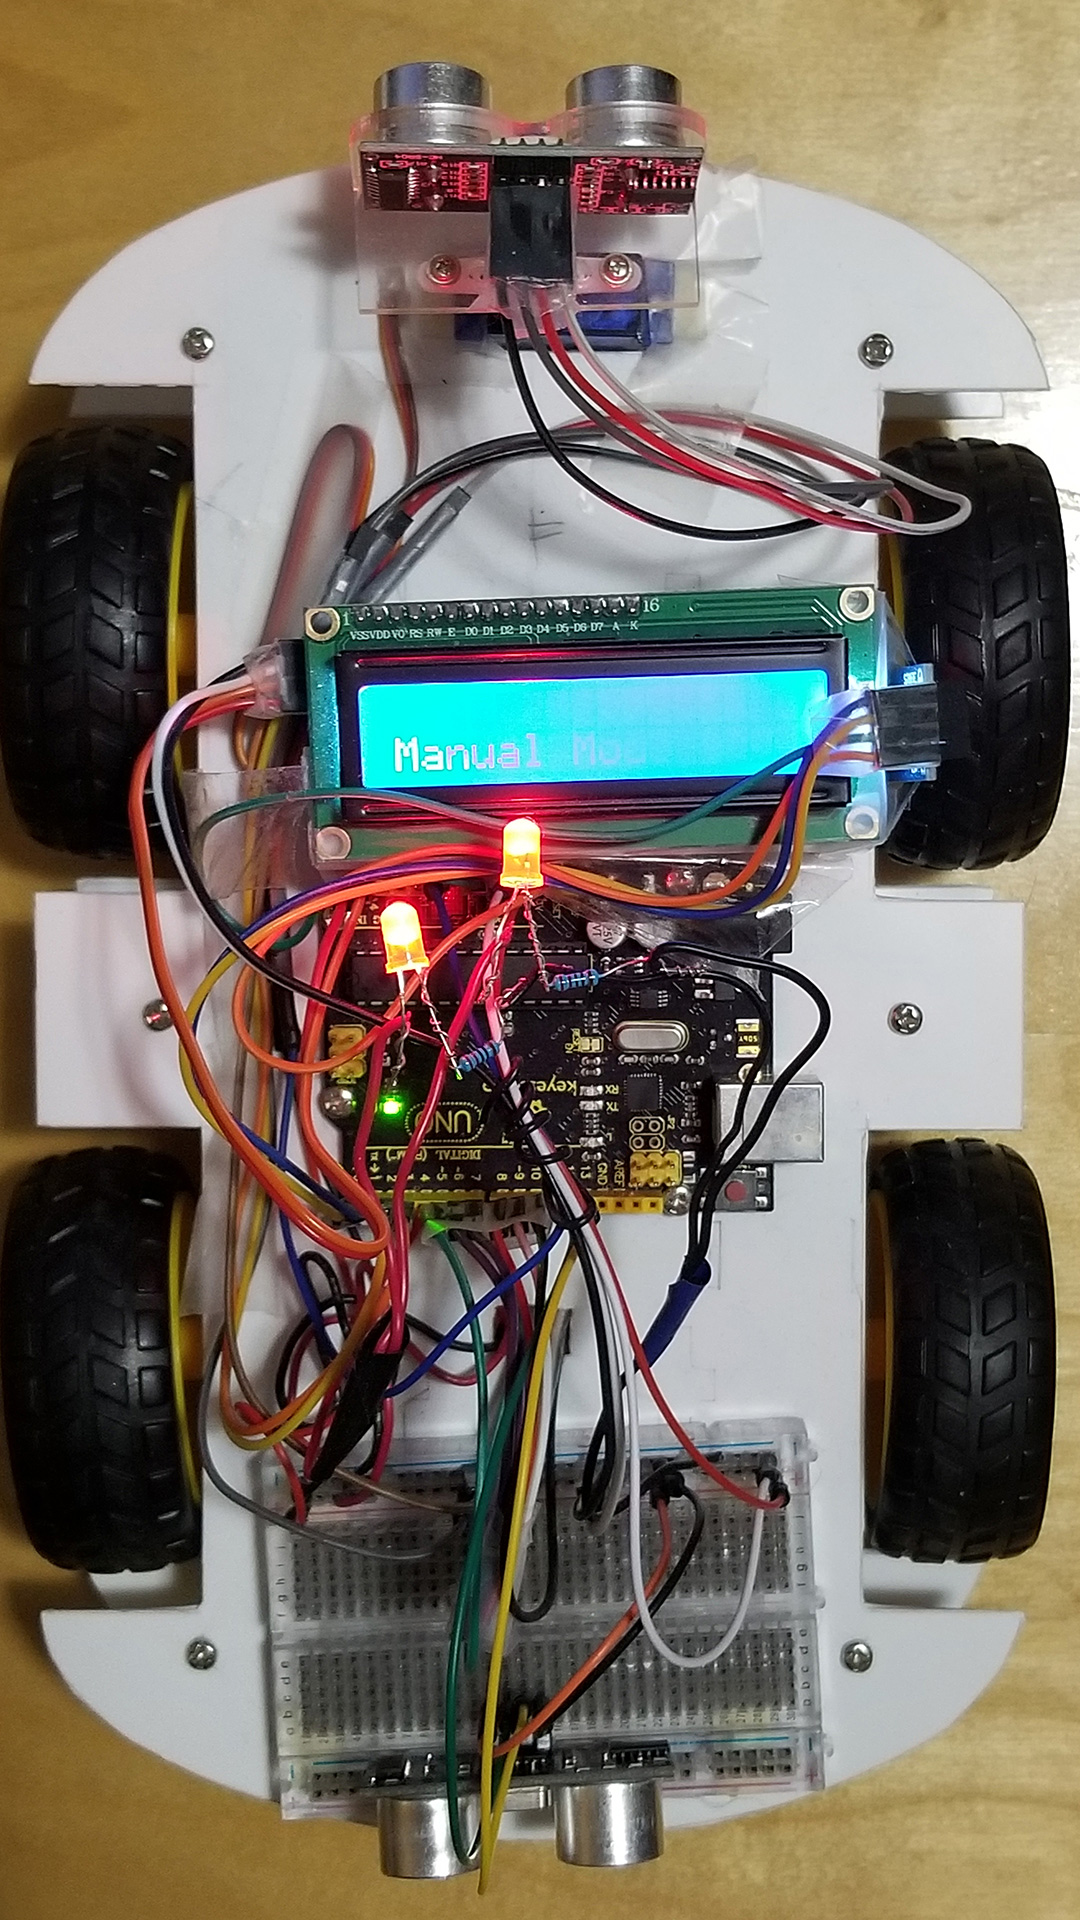
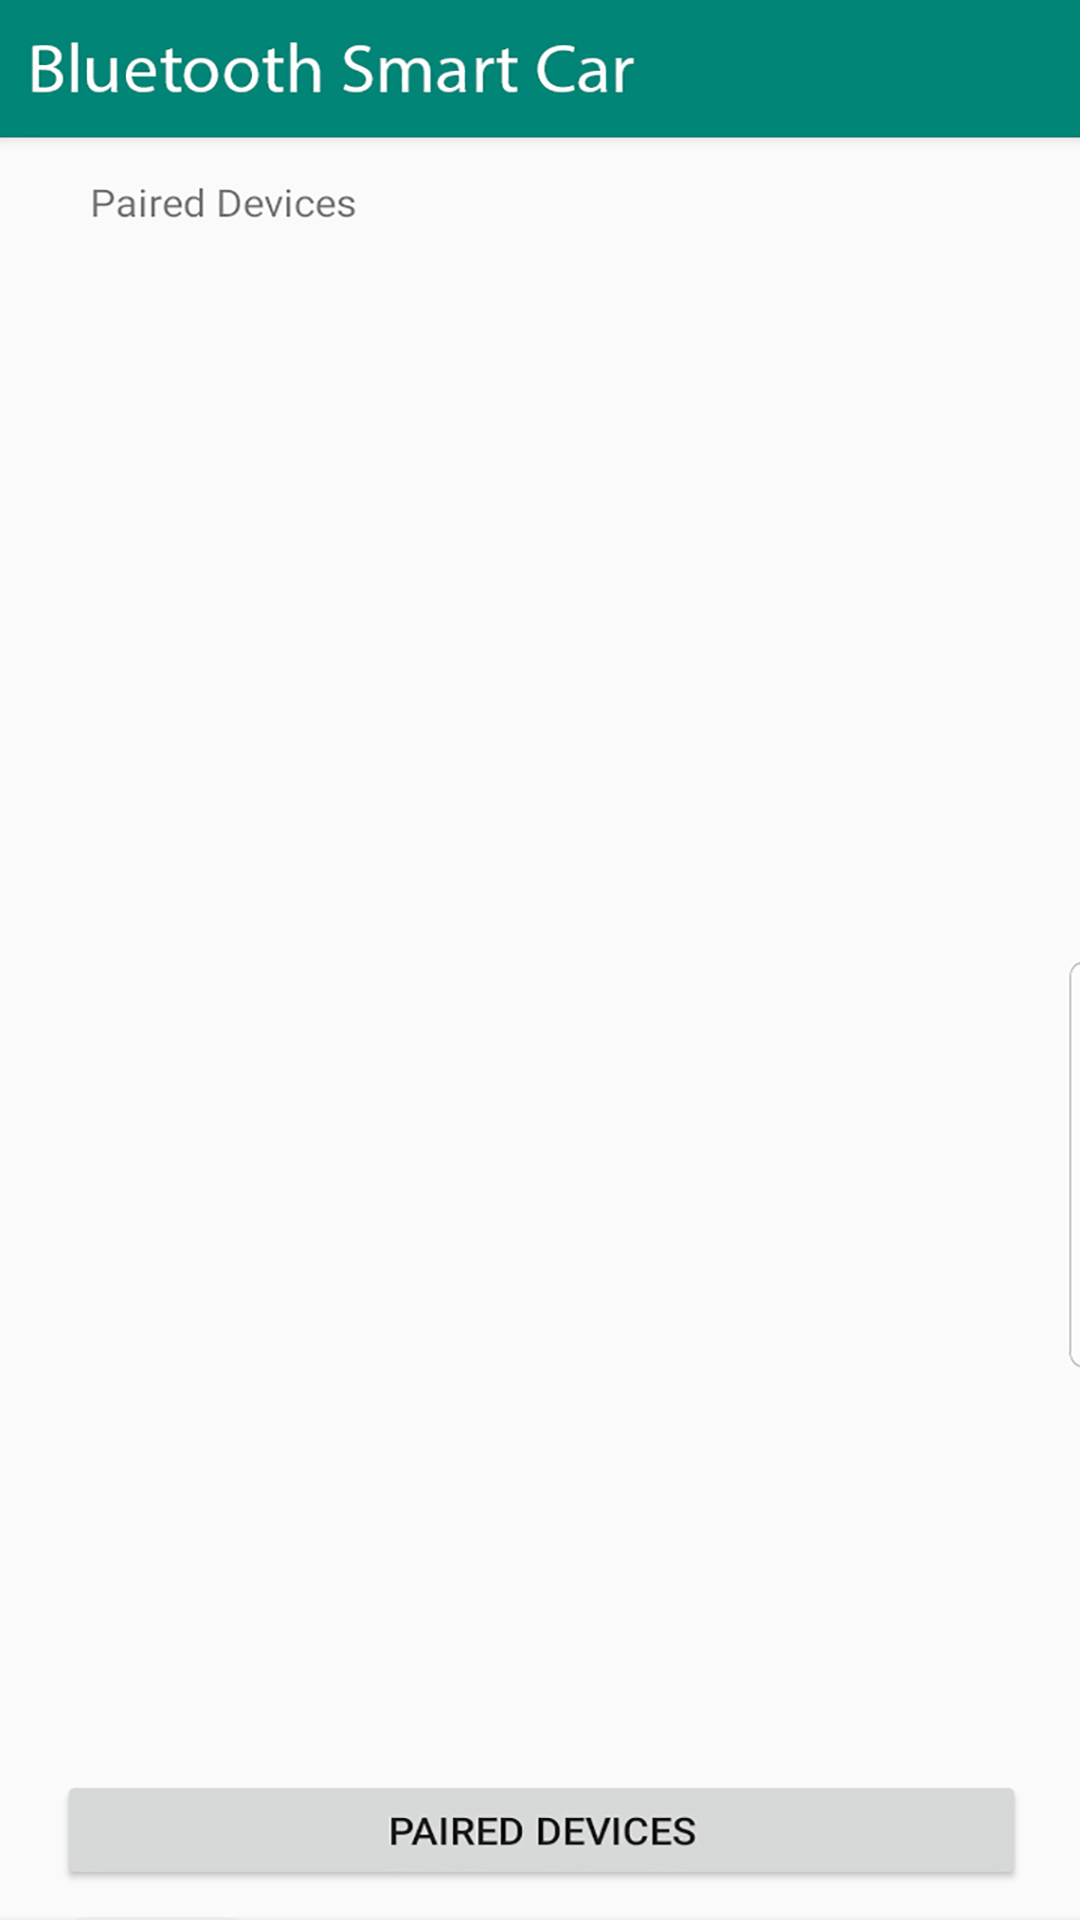
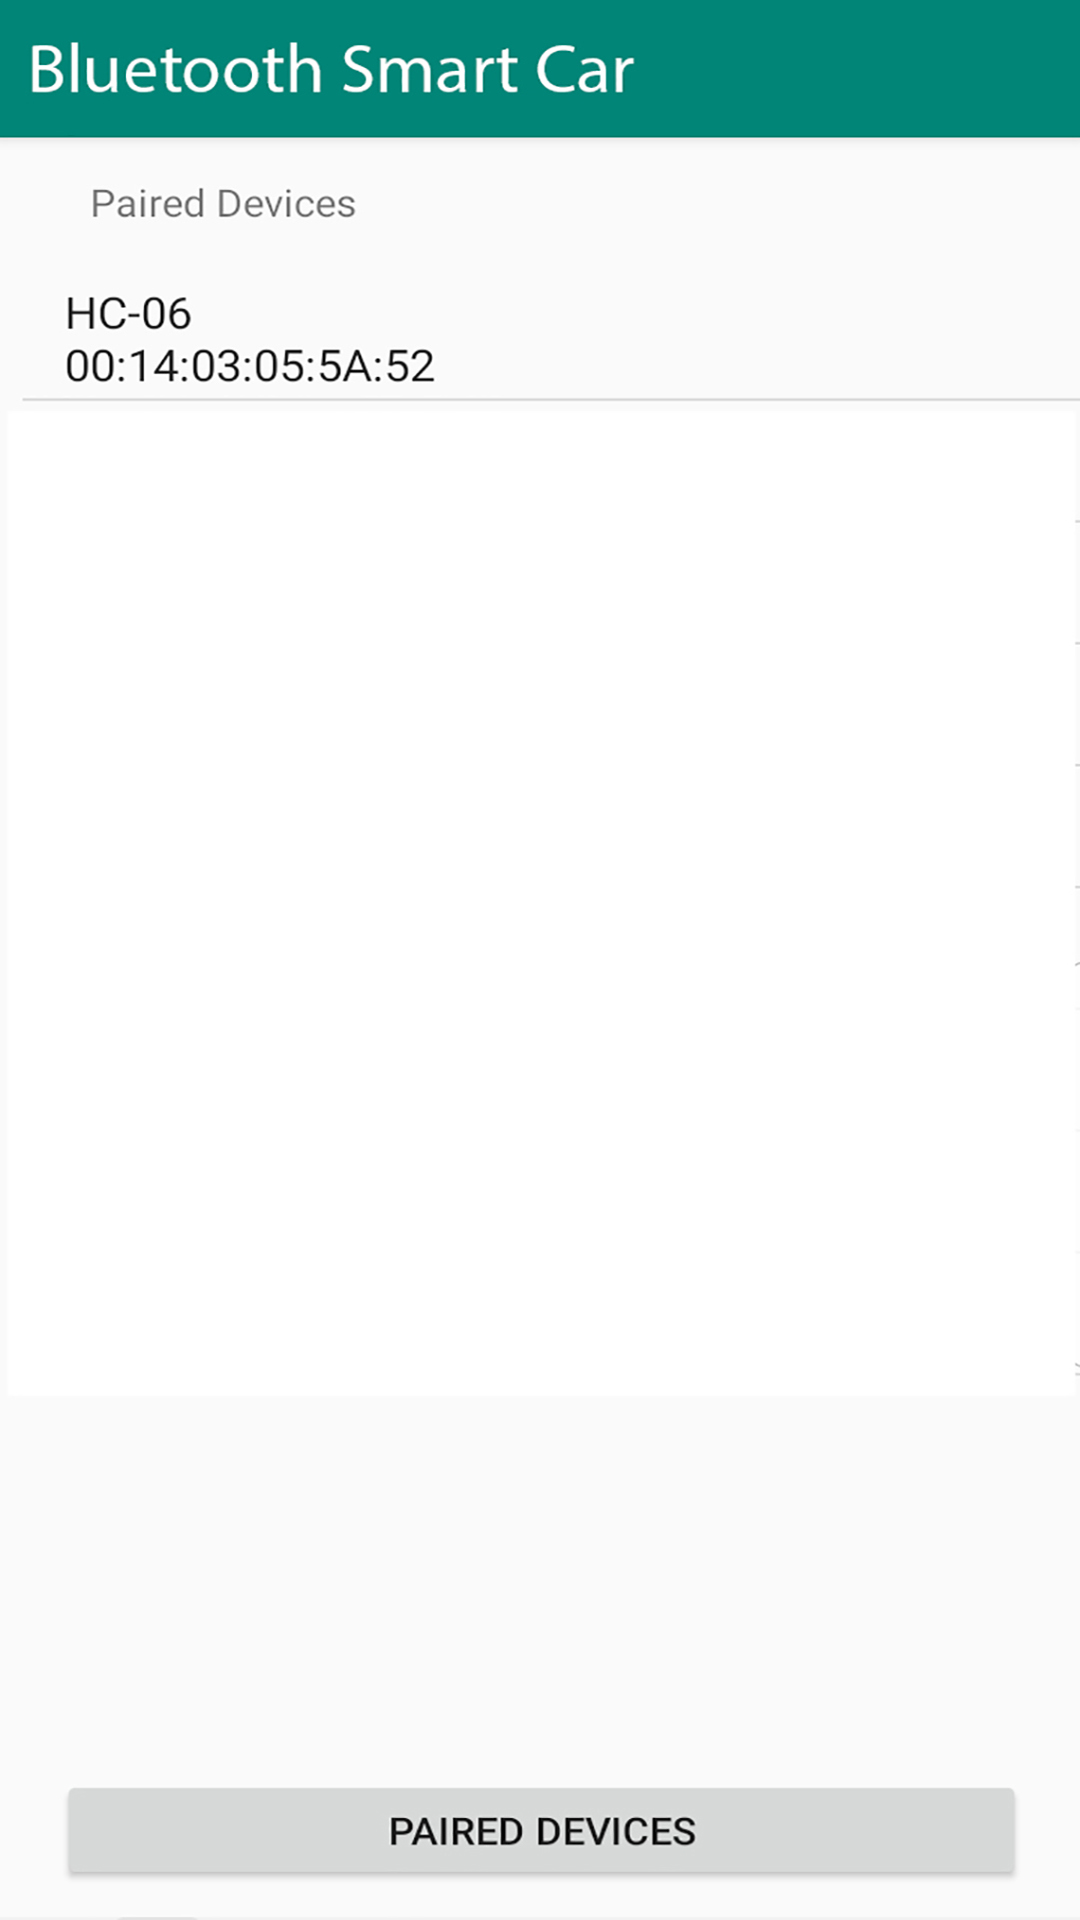
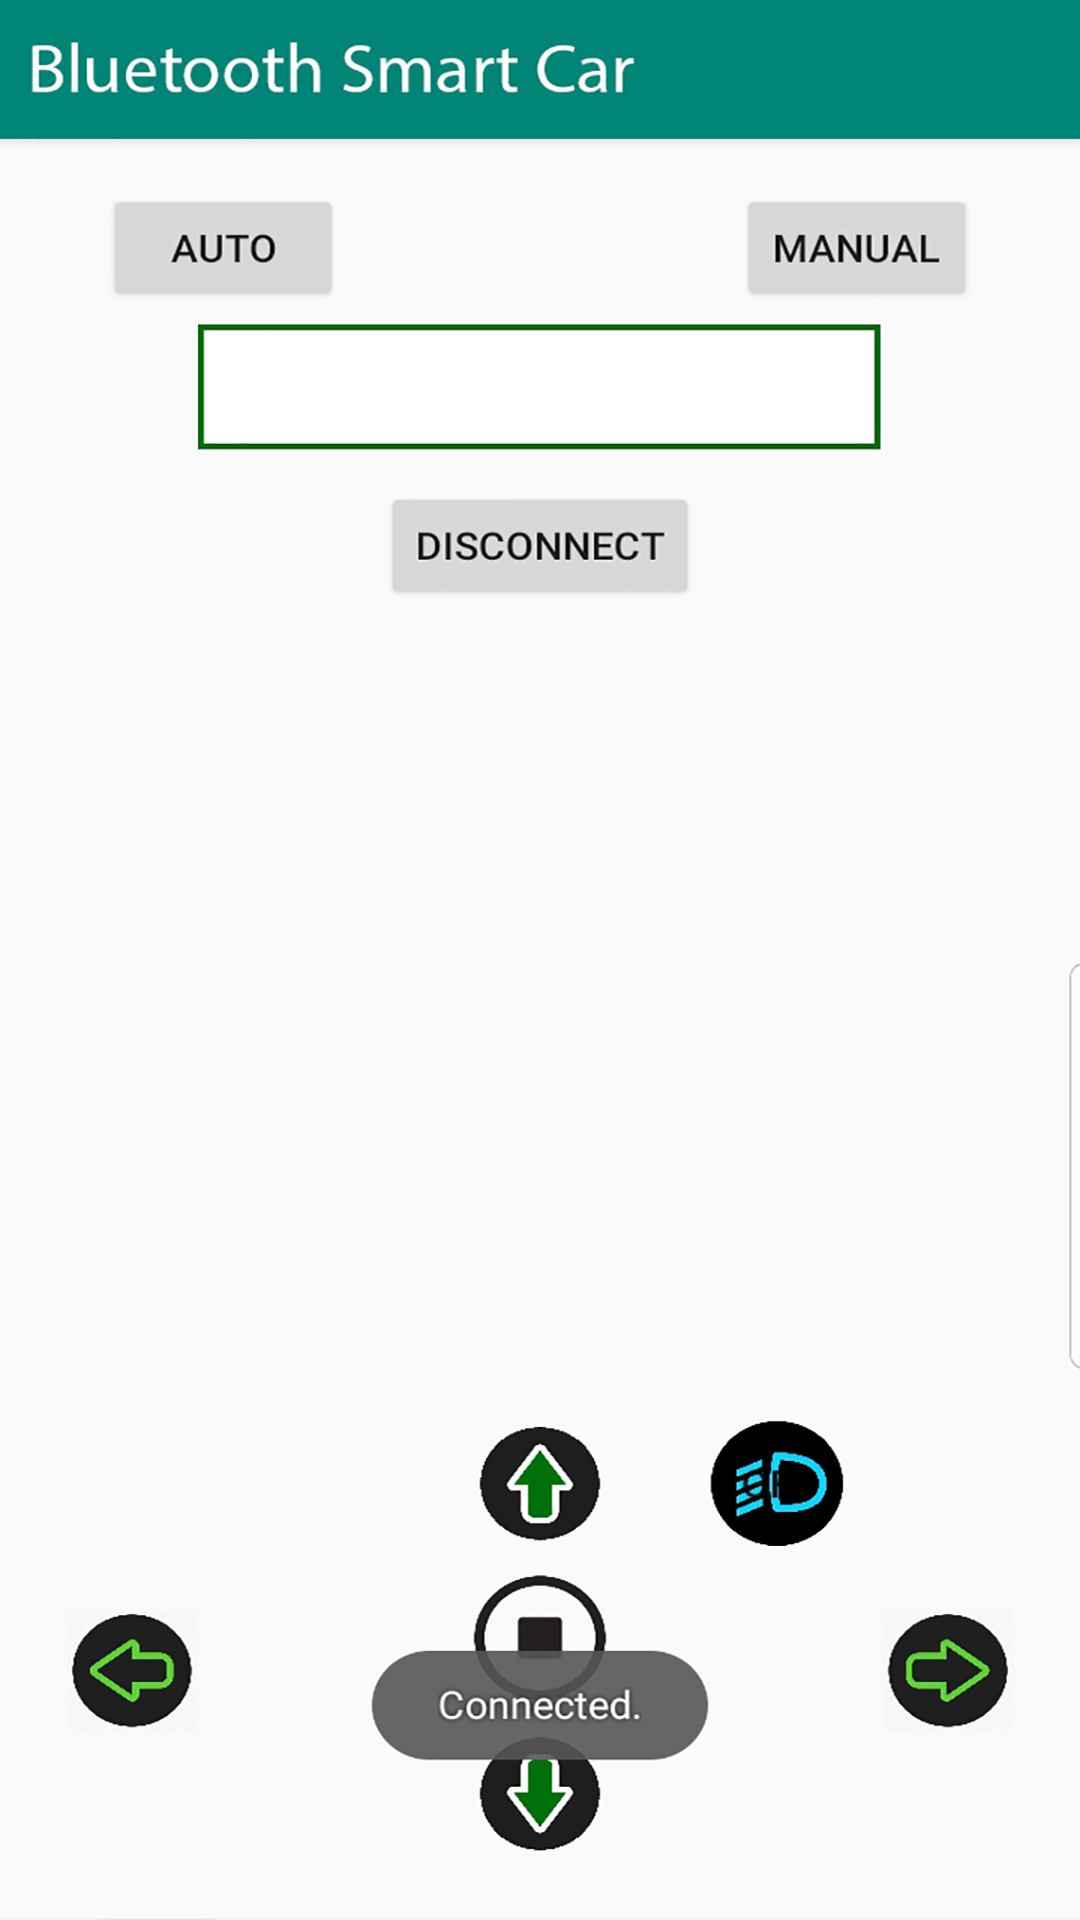
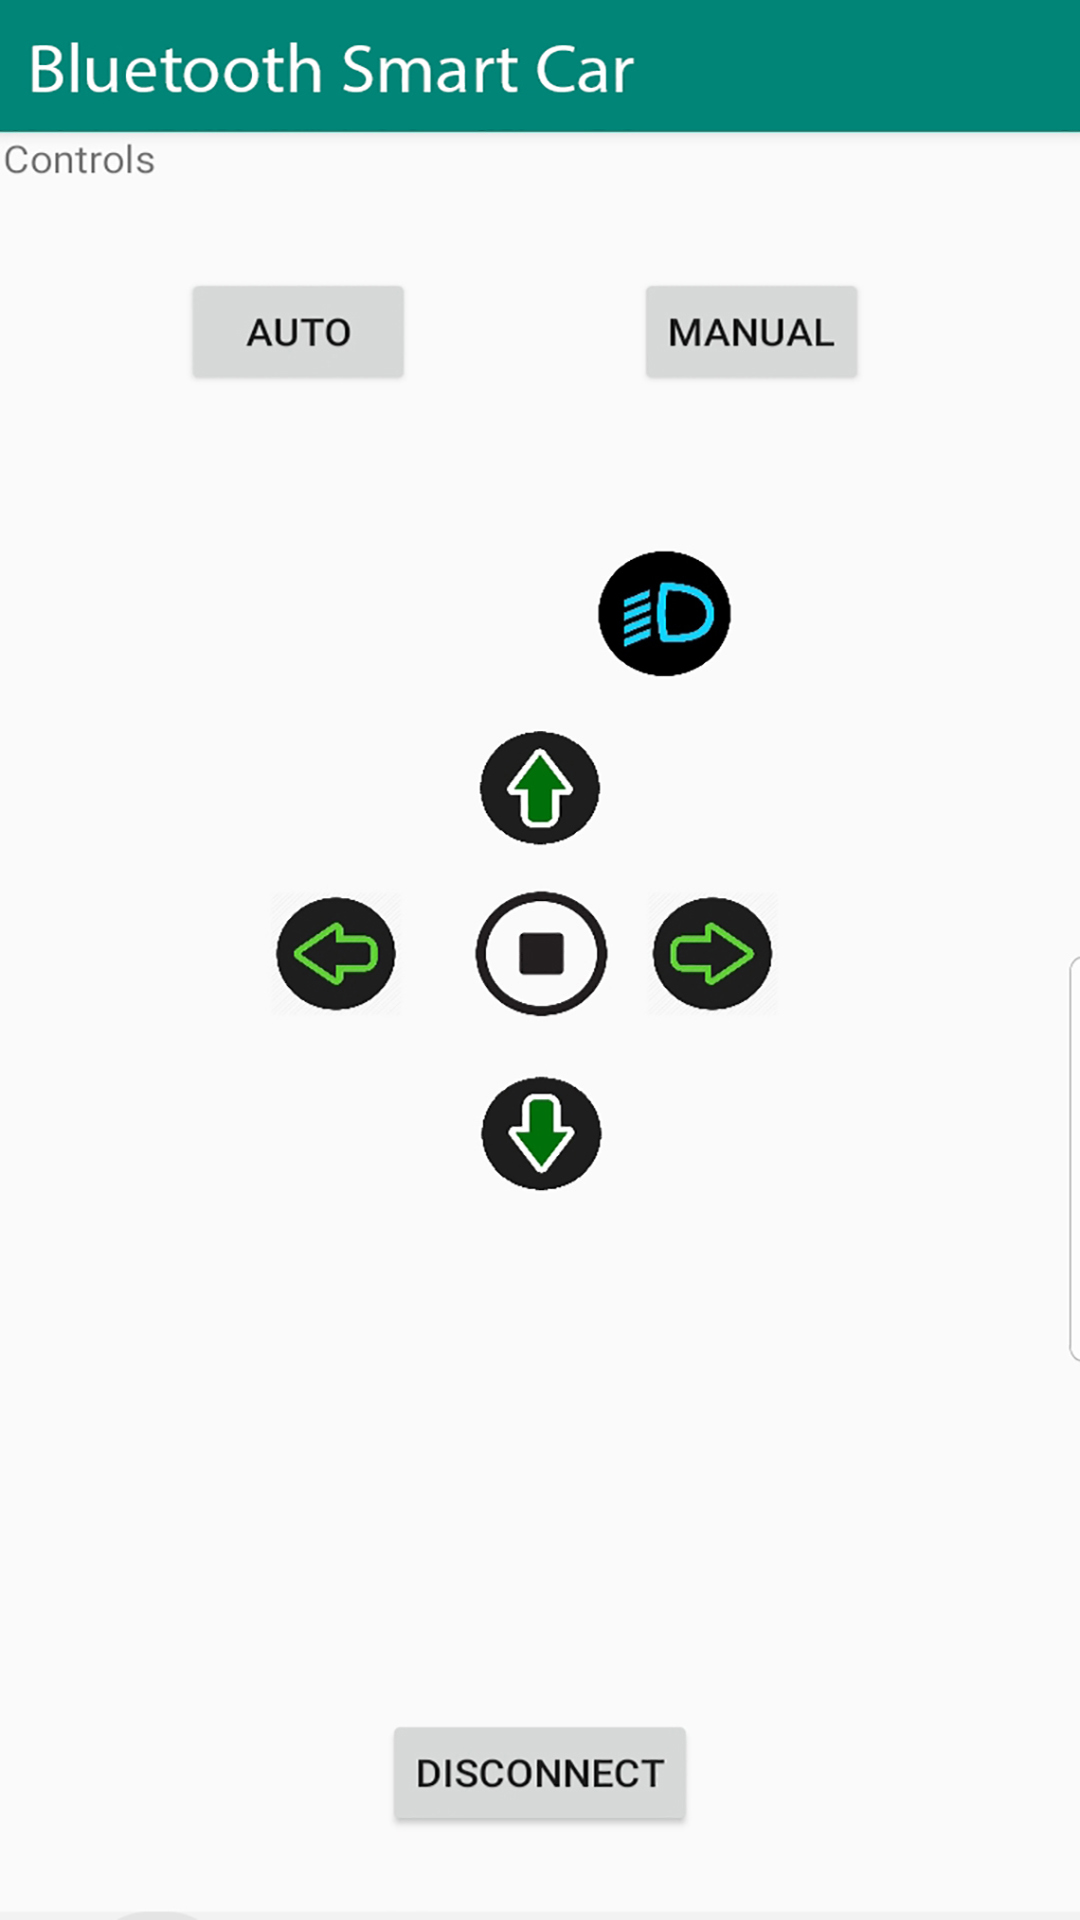
Bluetooth Smart Car

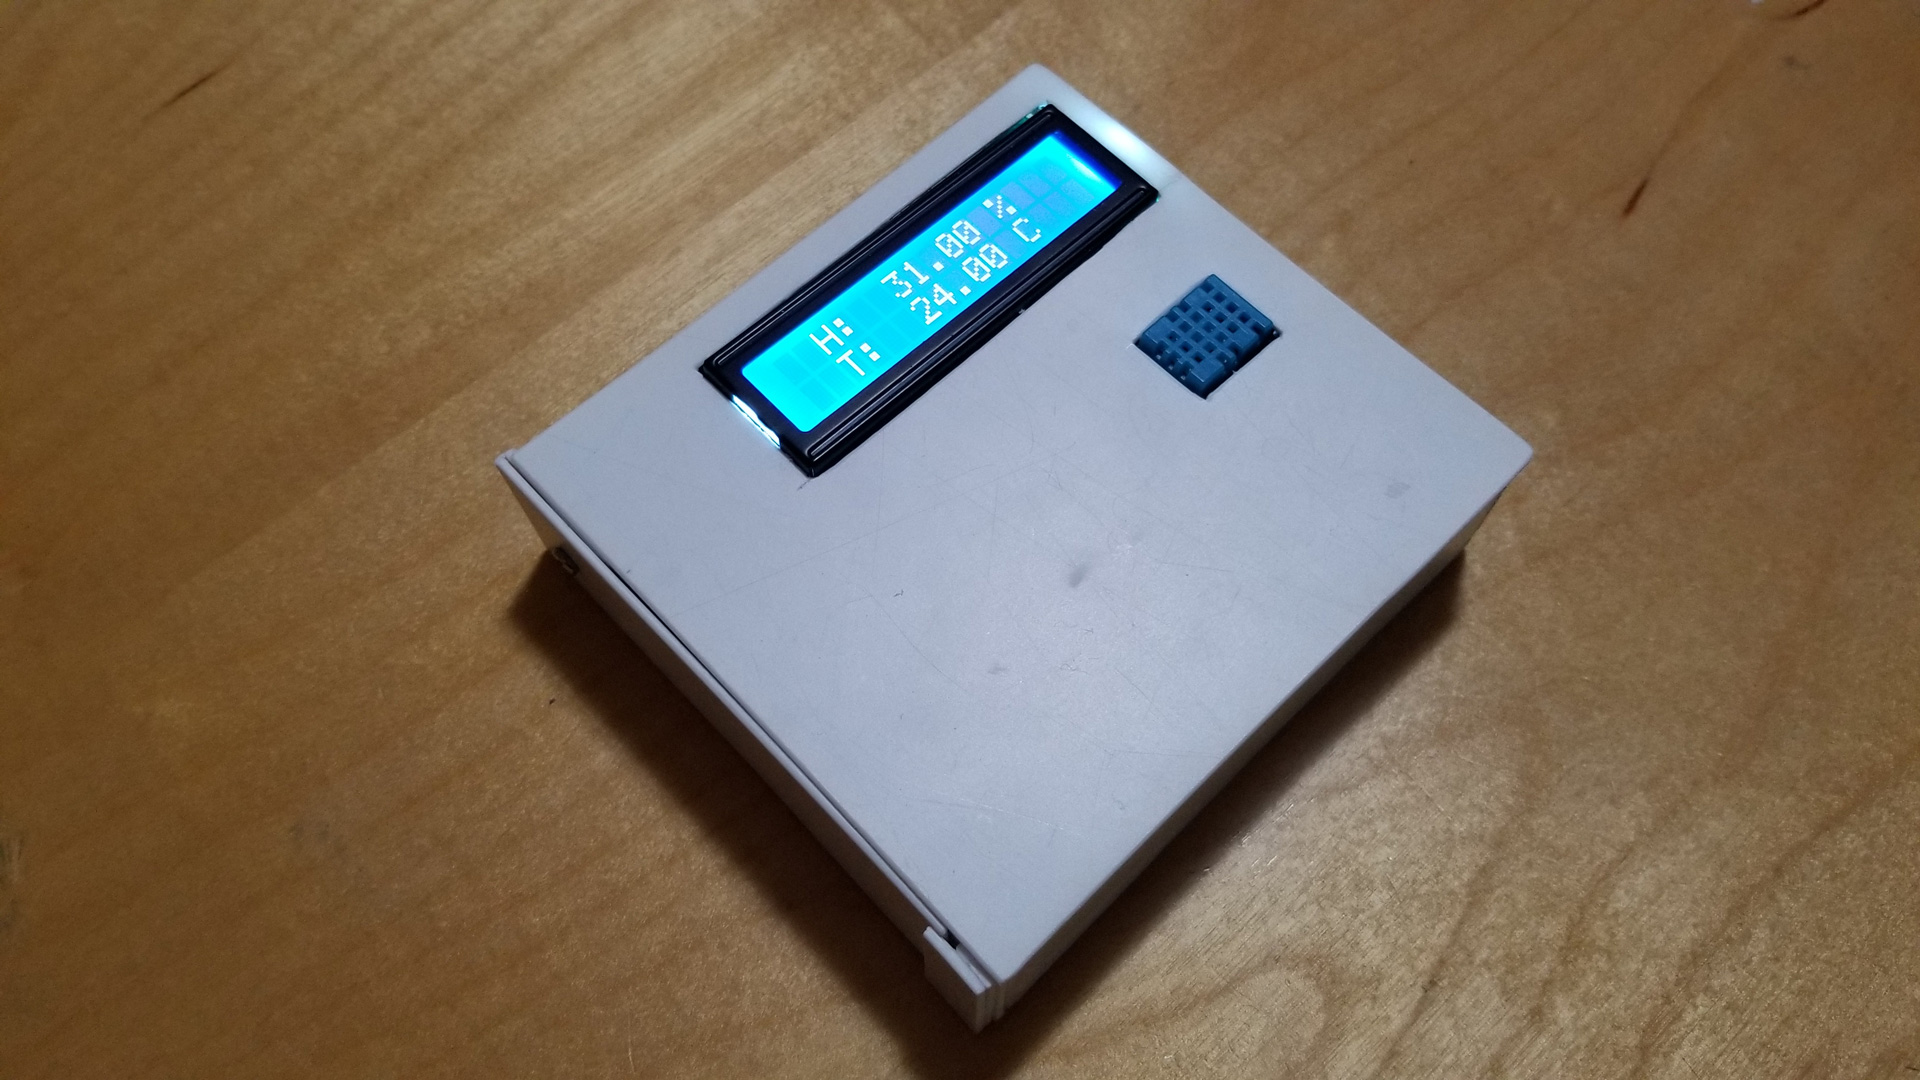
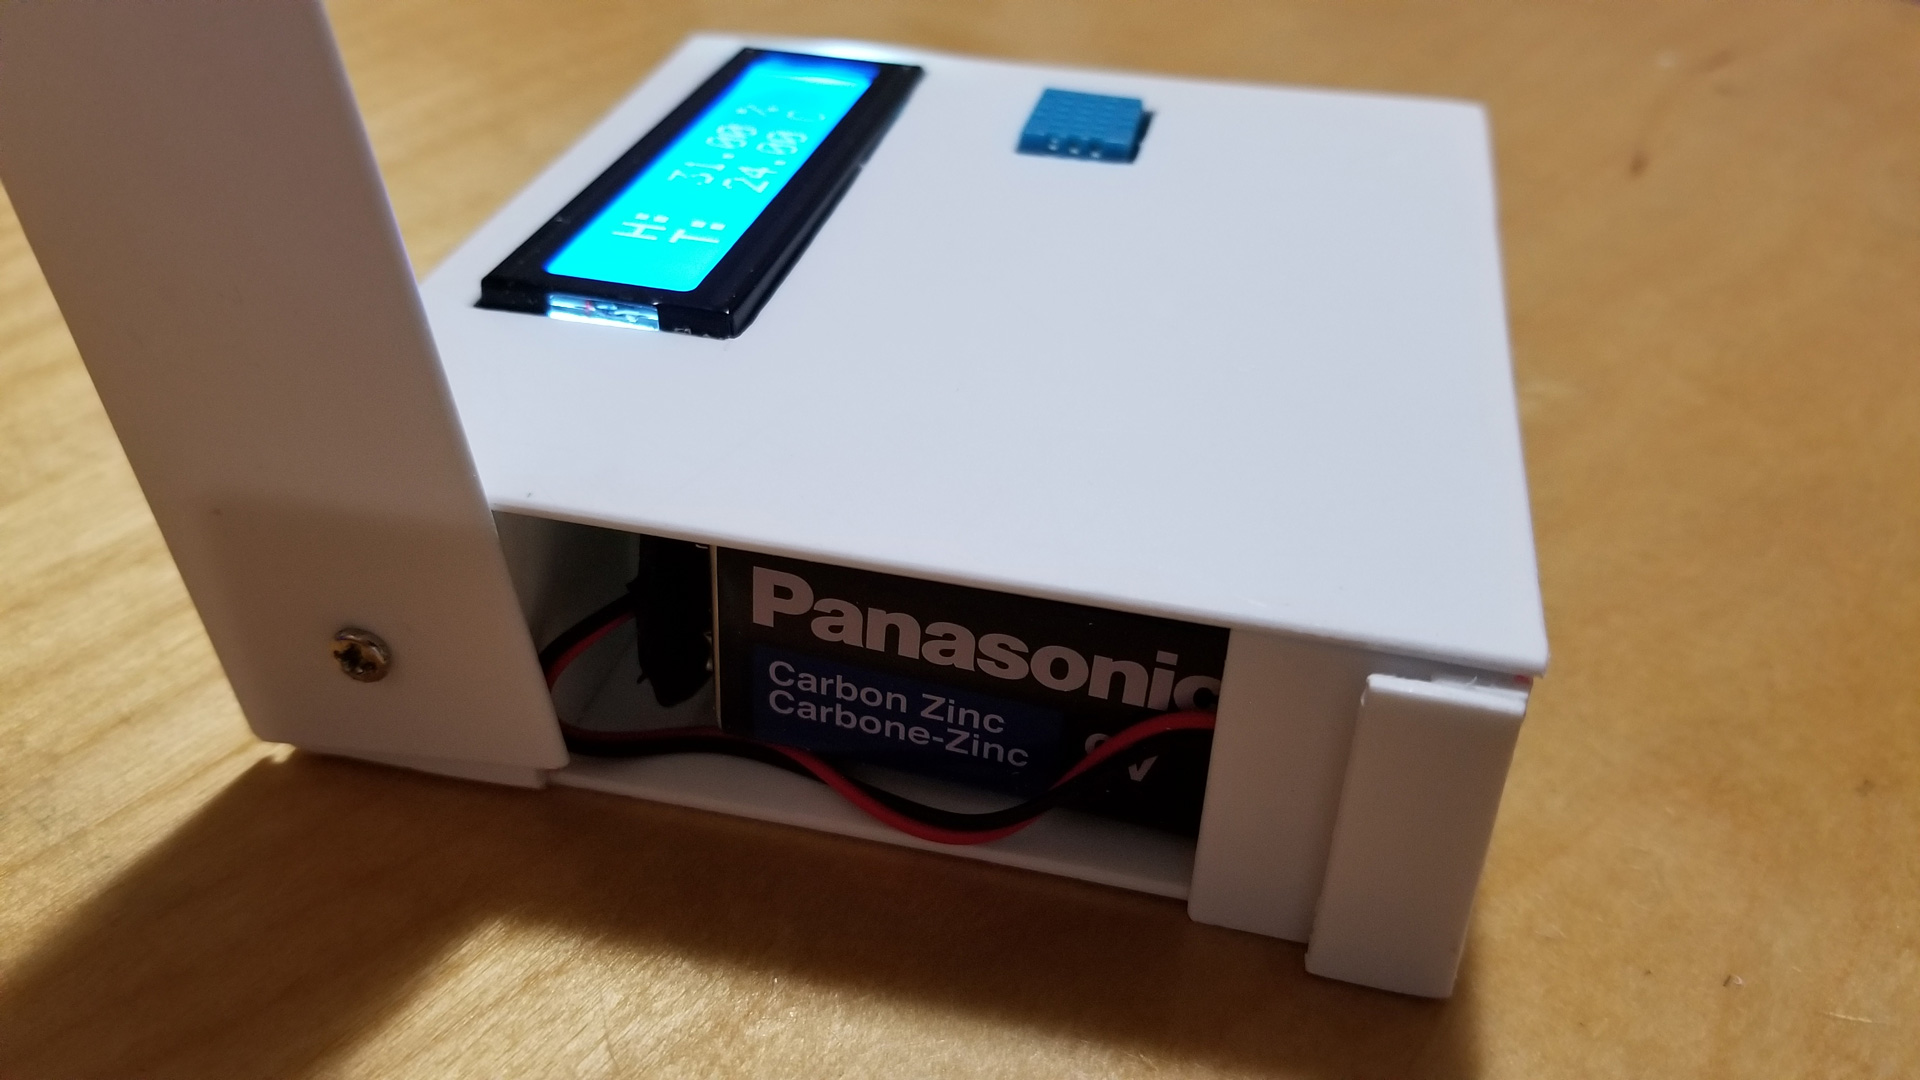
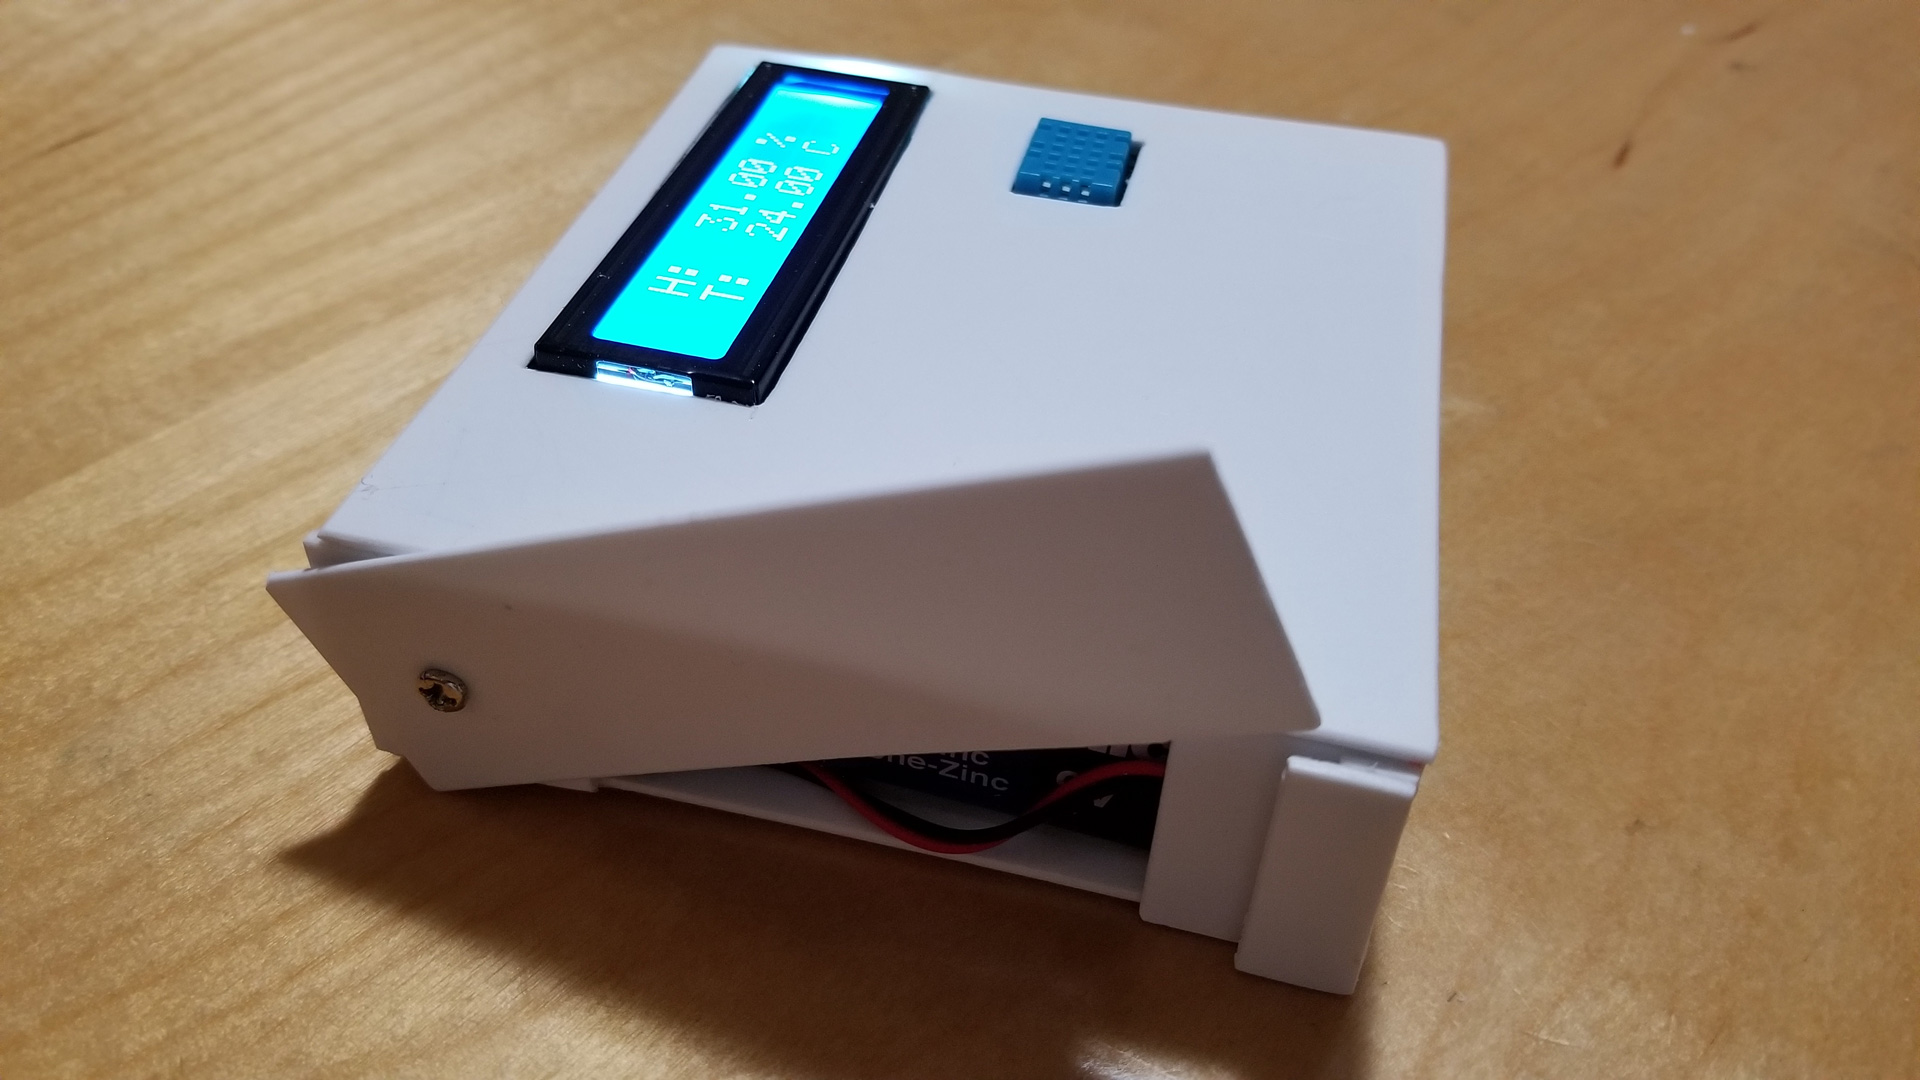
Temperature Humidity Sensor

MIDI Keyboard
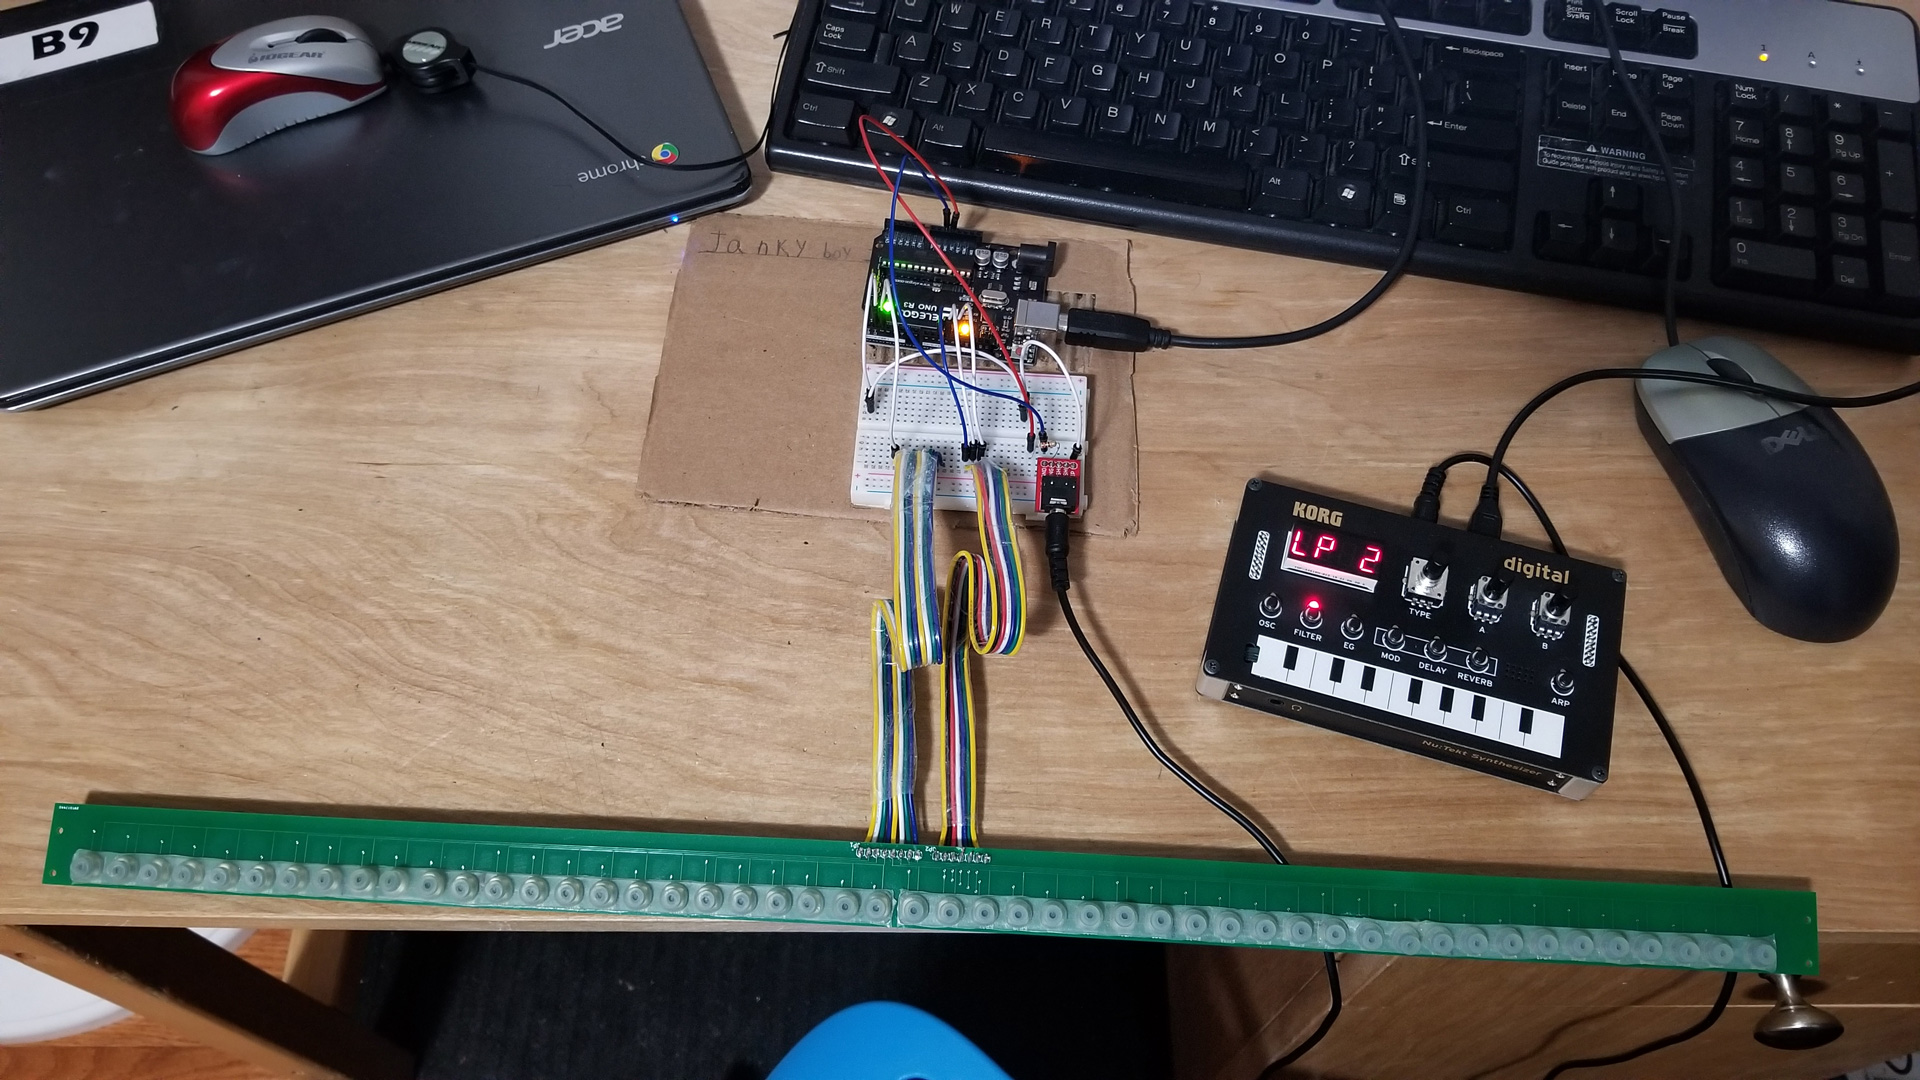
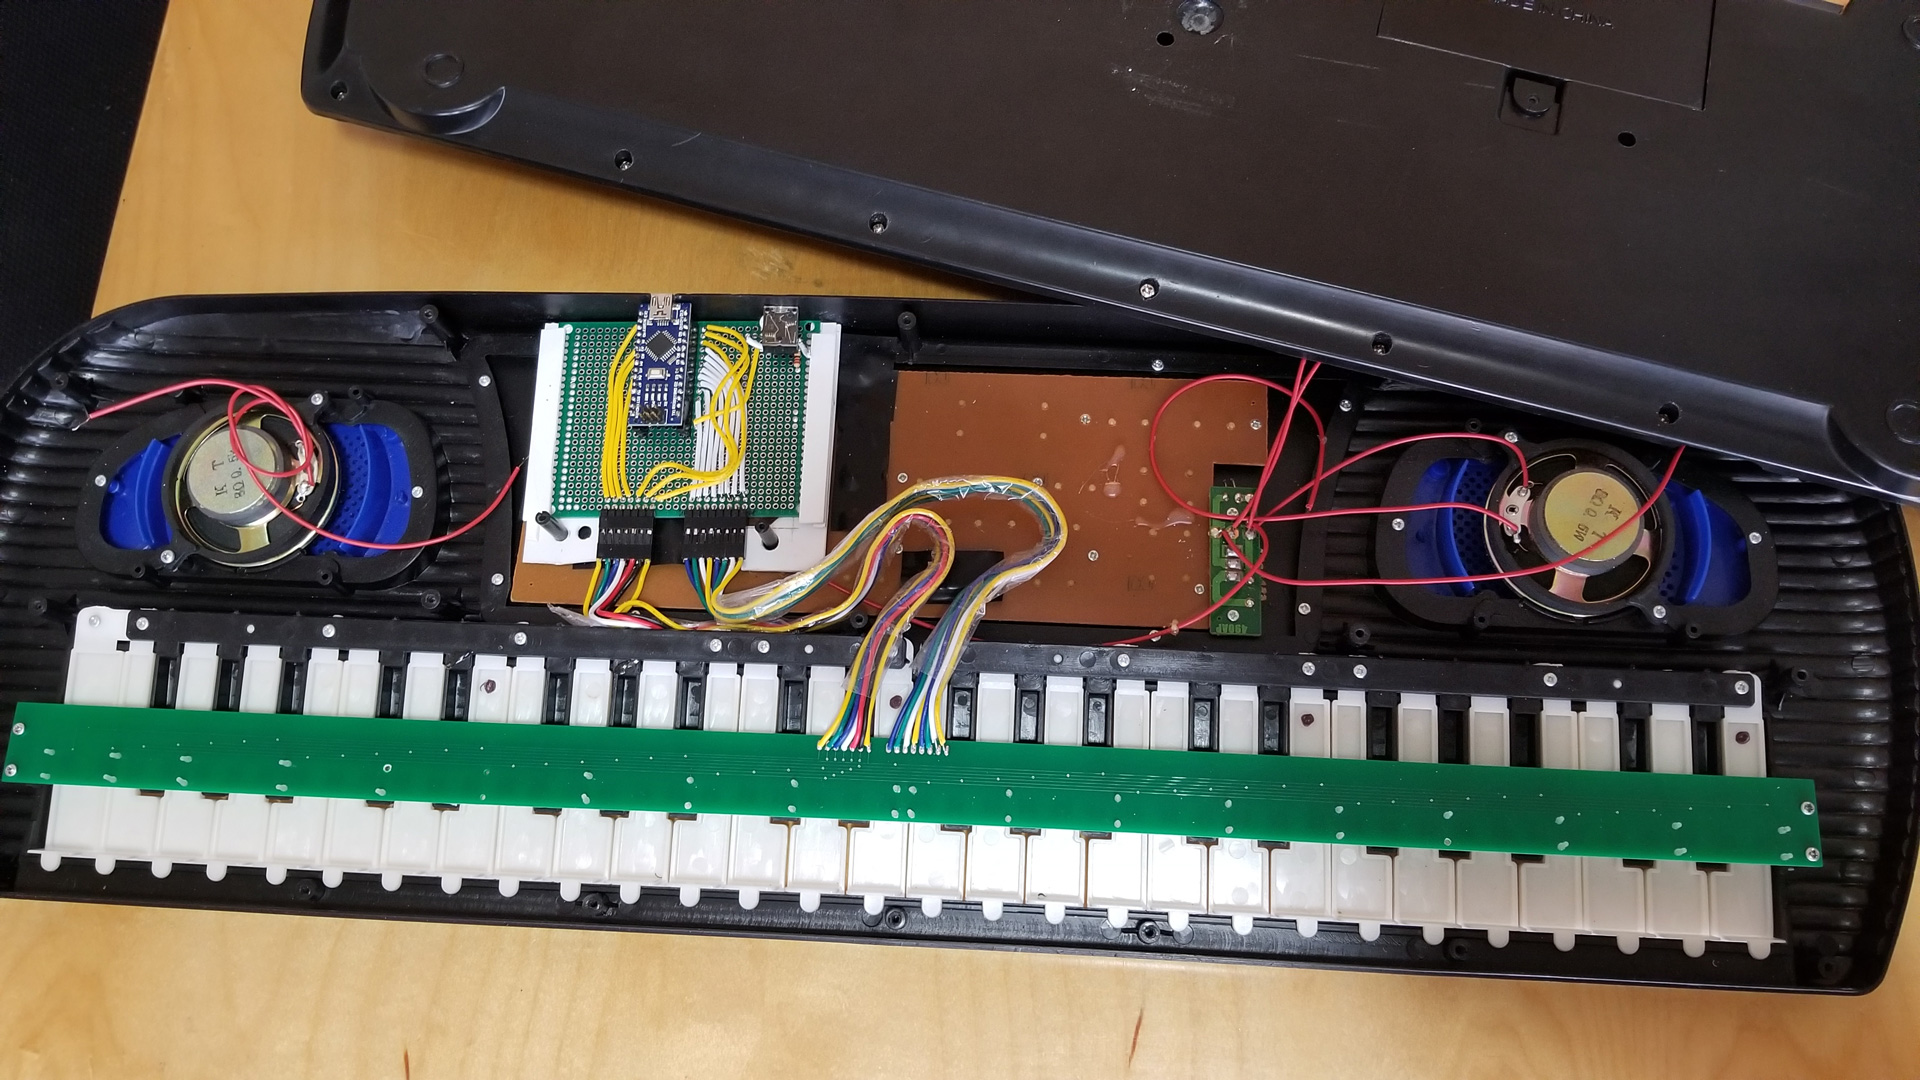
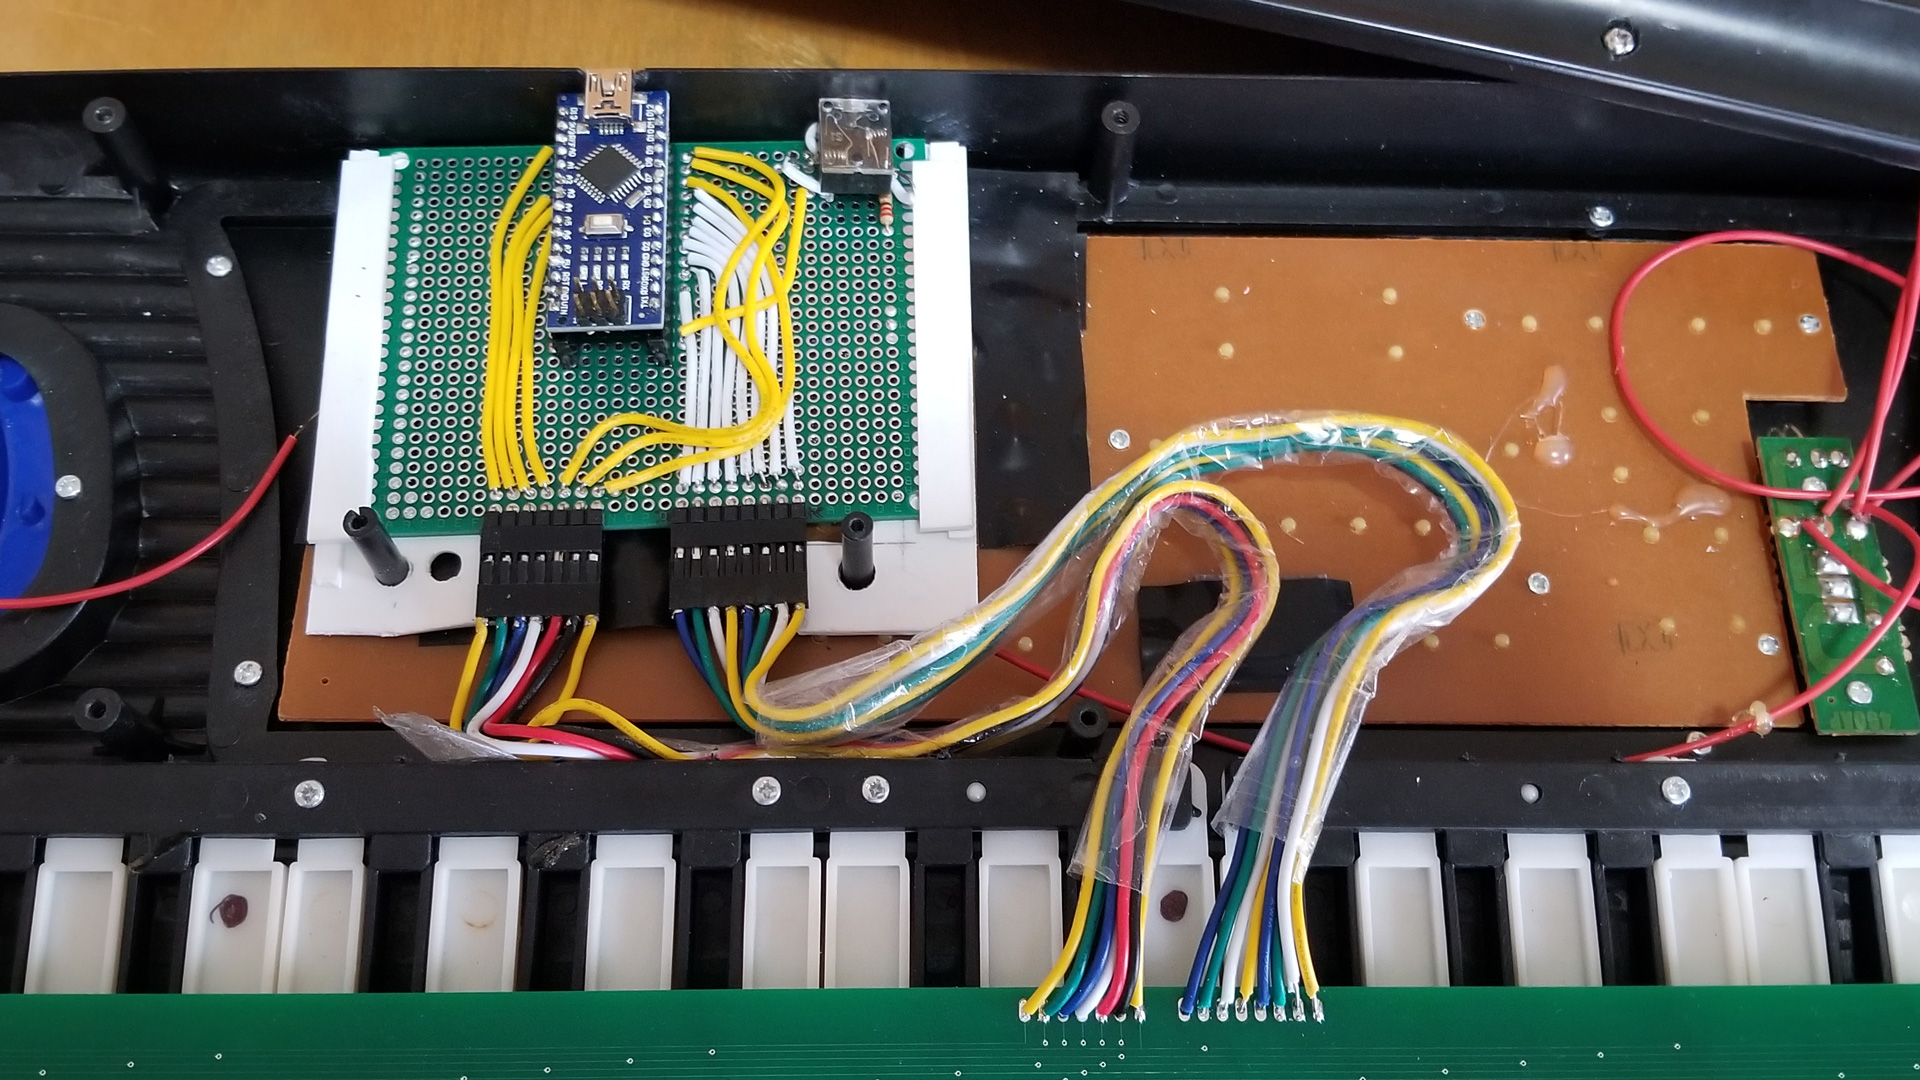
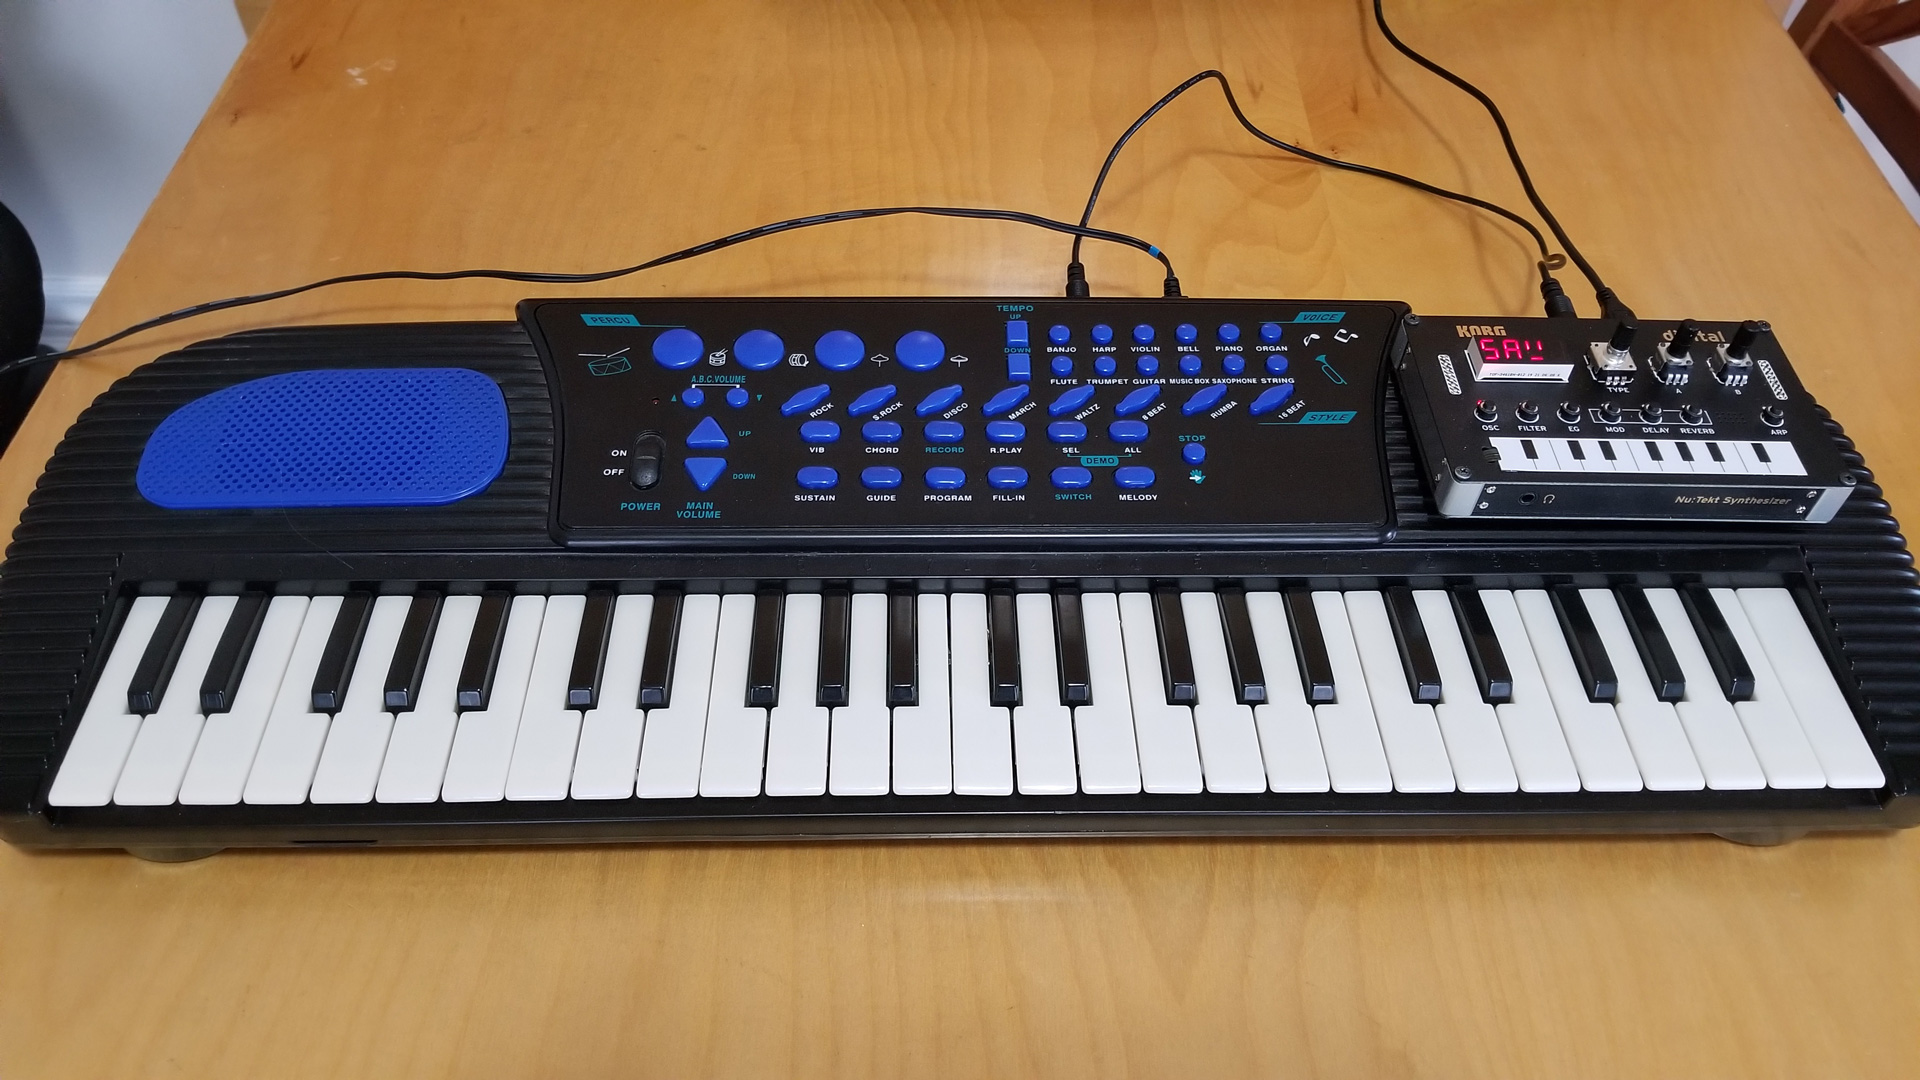
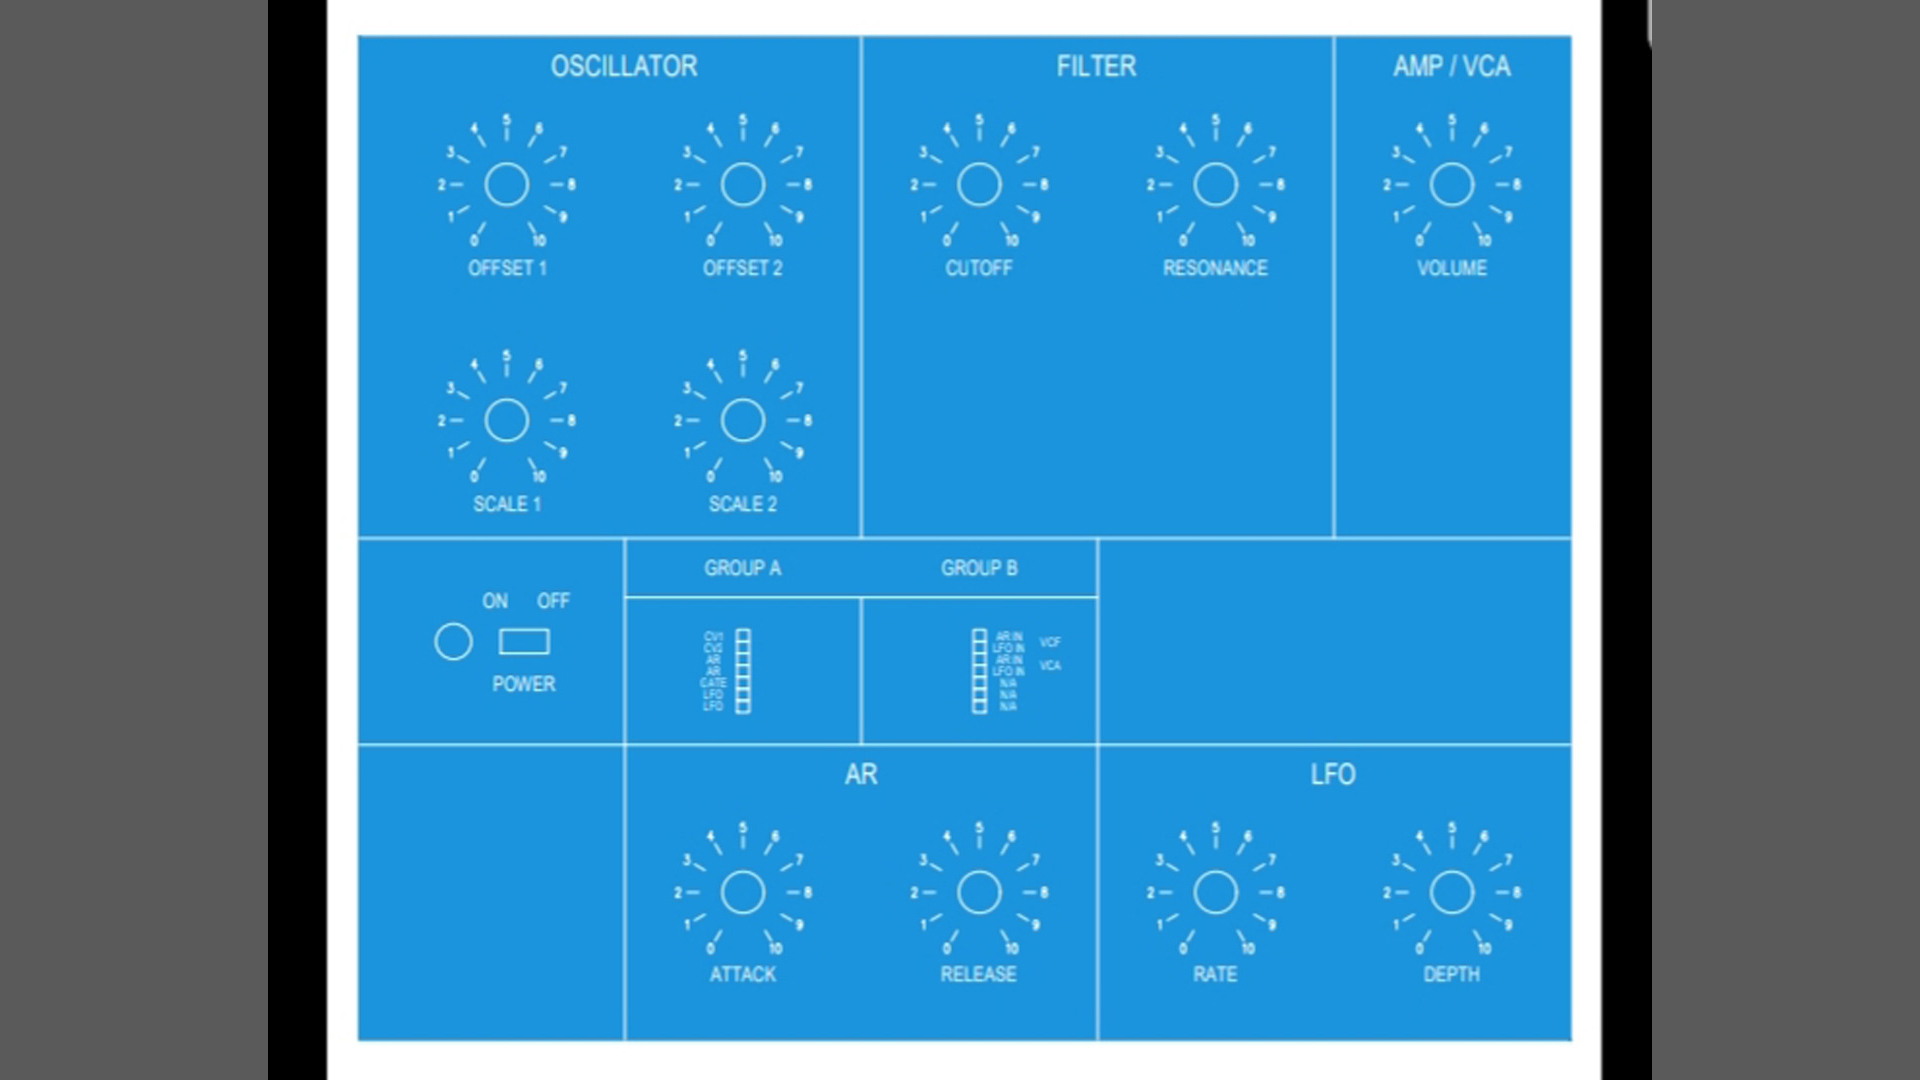
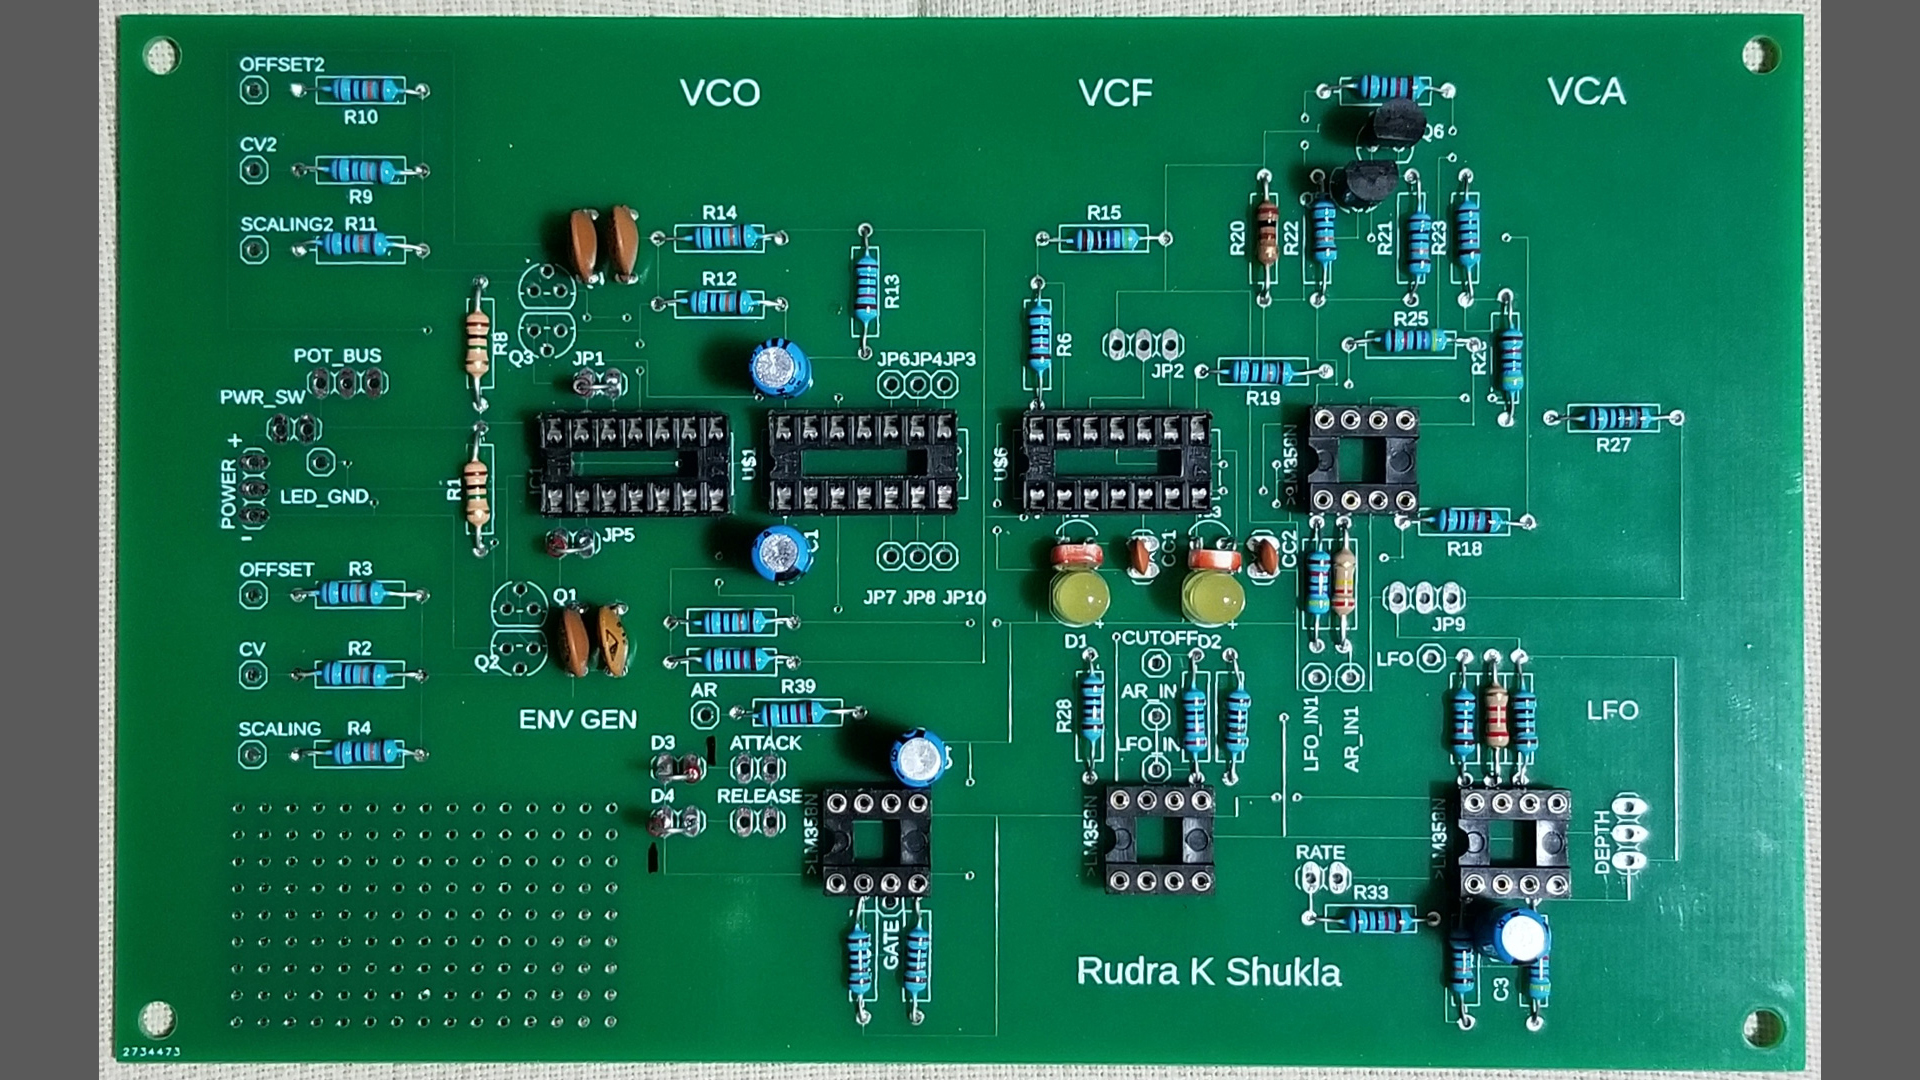
Synthesizer
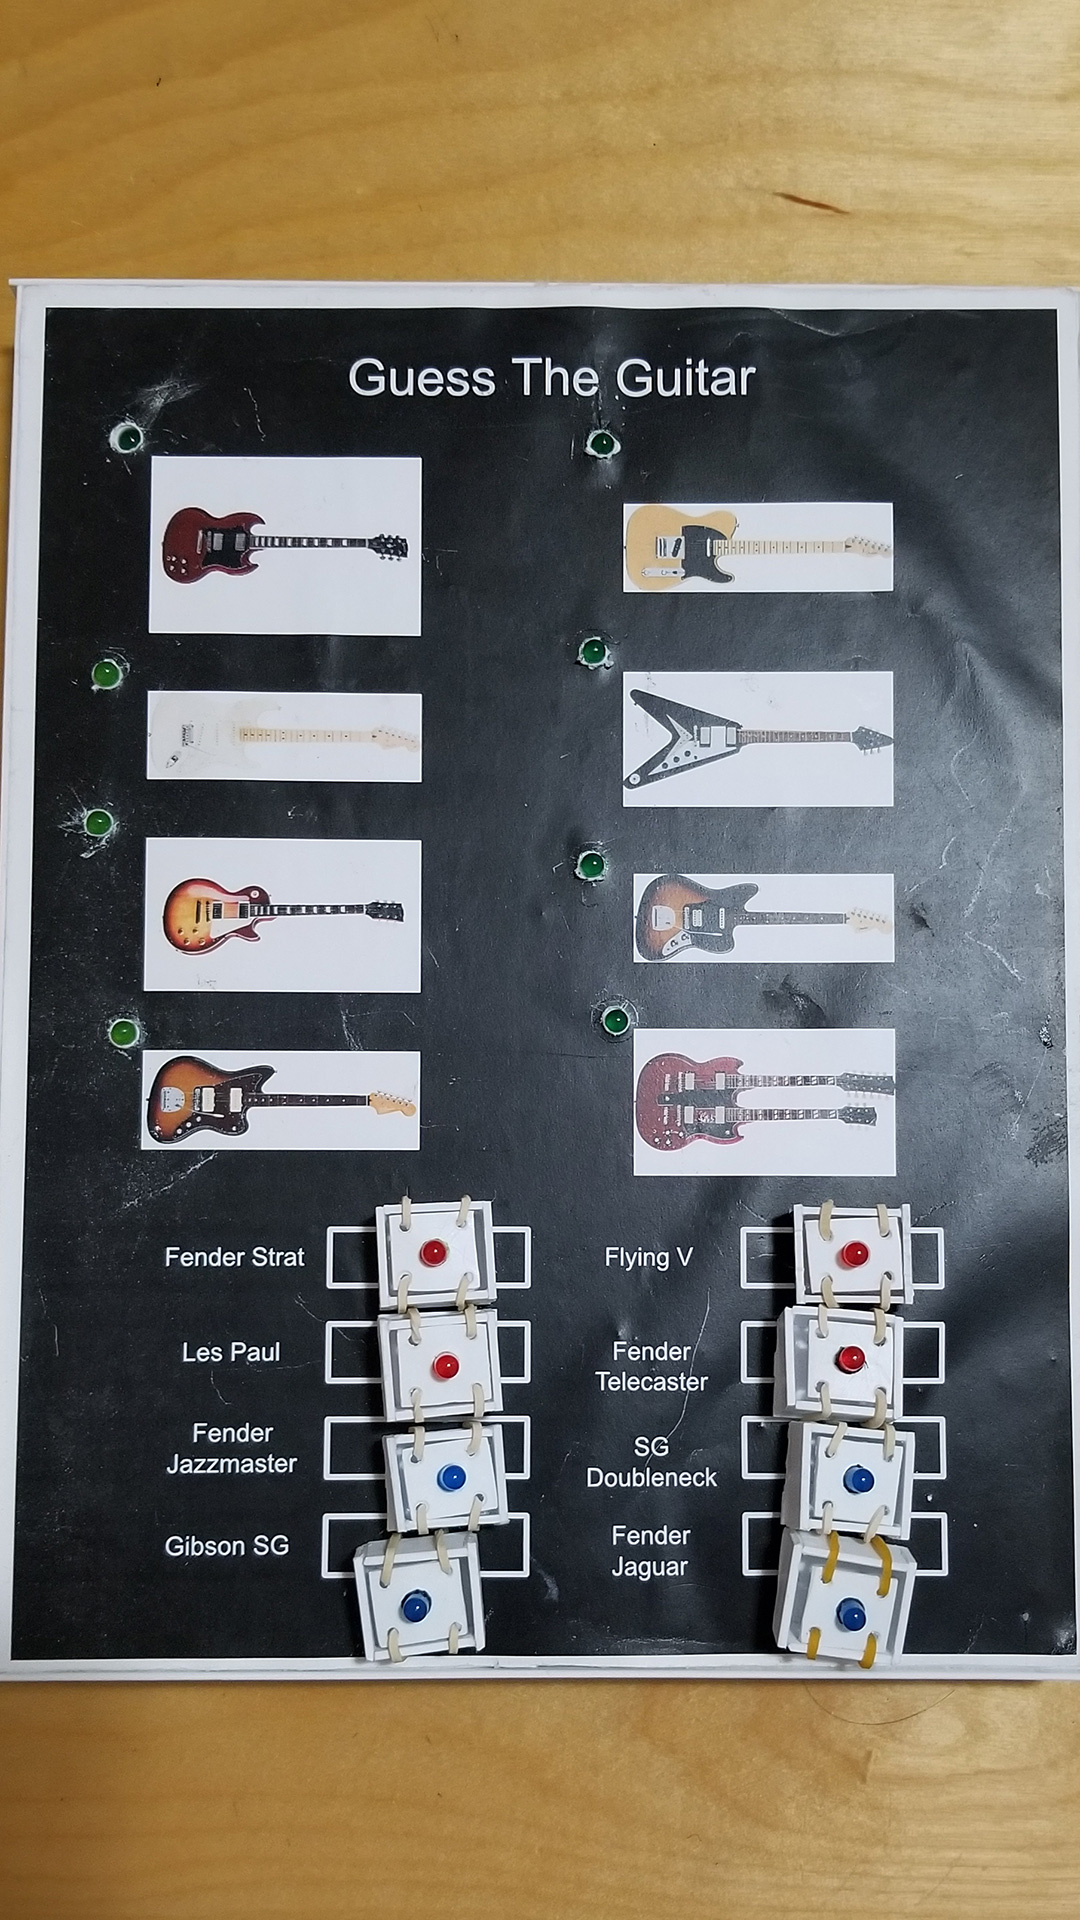
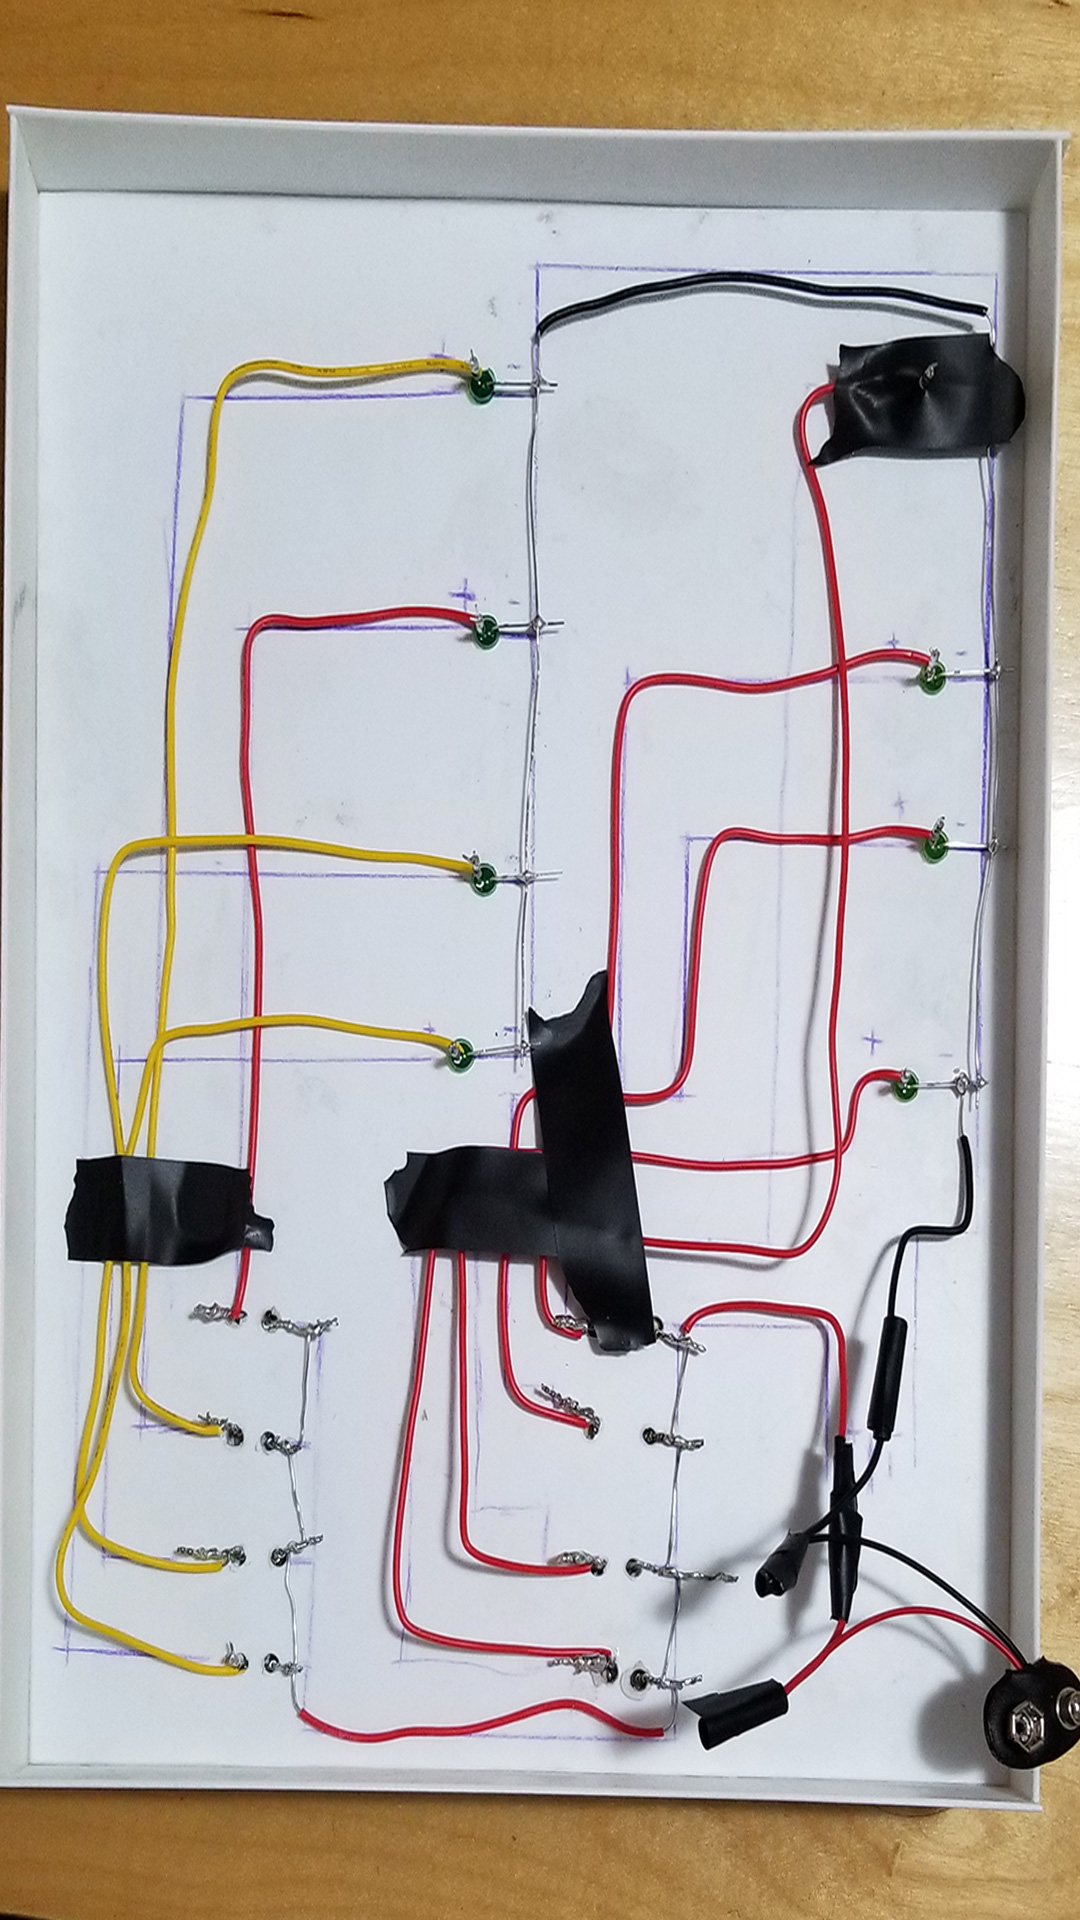
Guess The Guitar
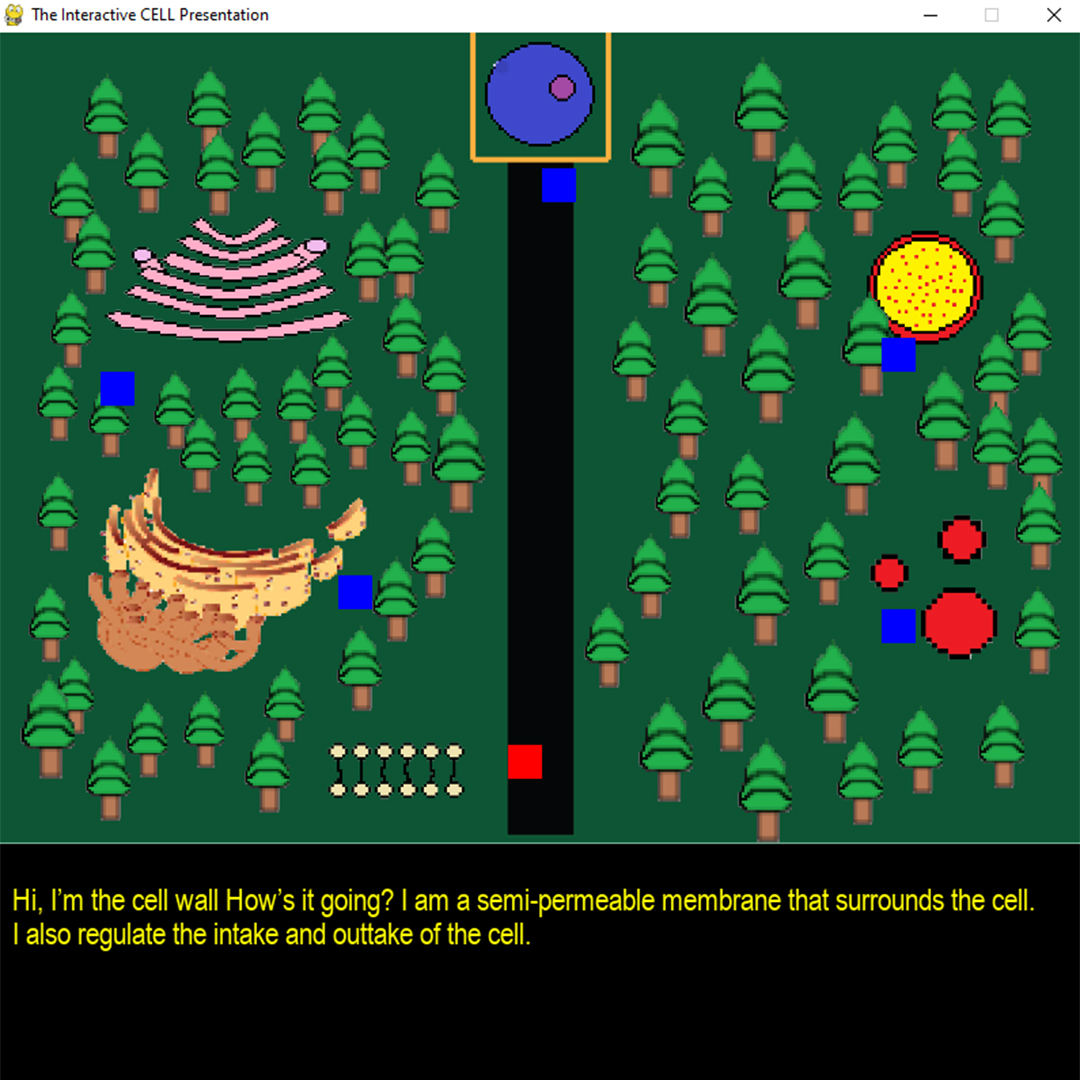
Pygames
(opens new window :- works for desktop only)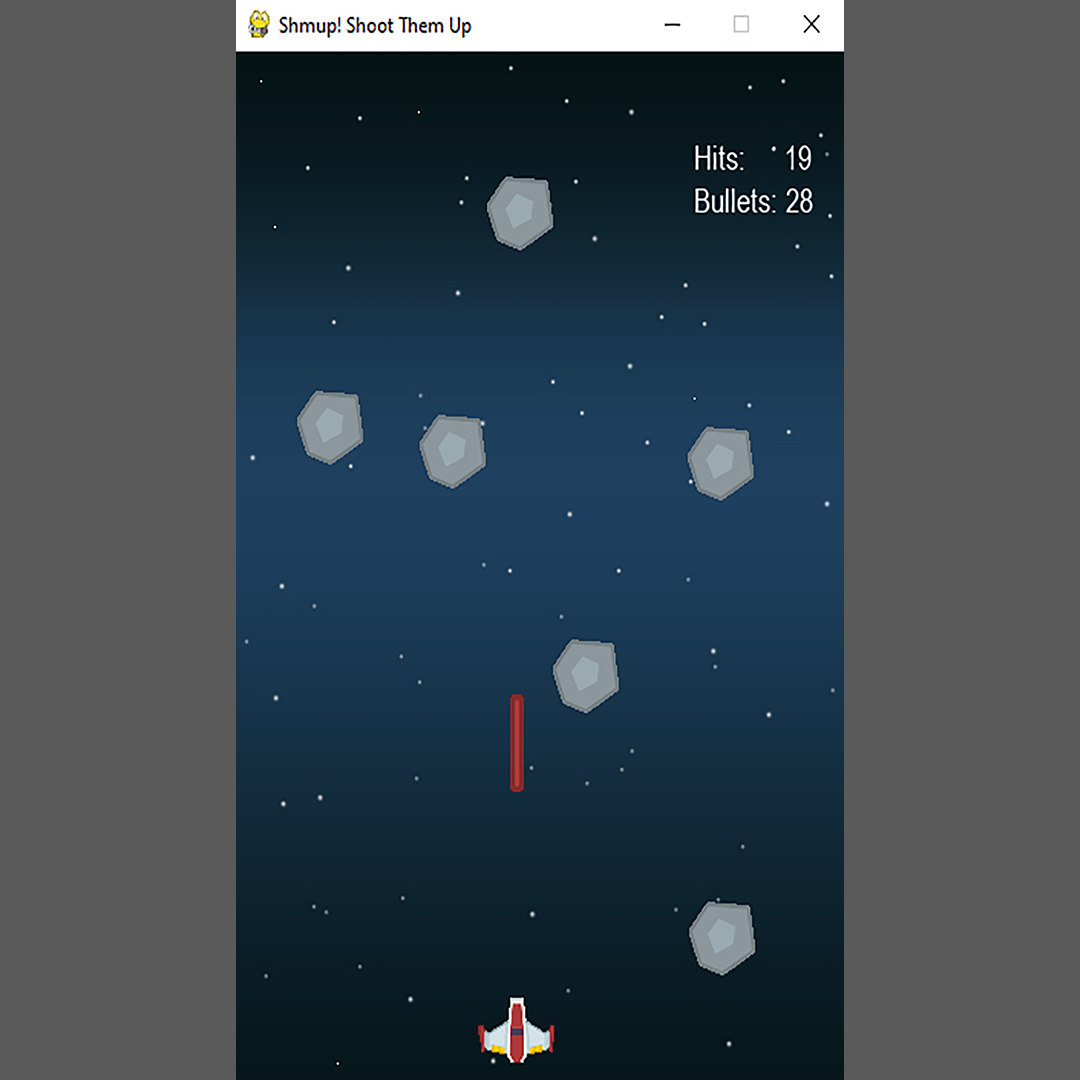
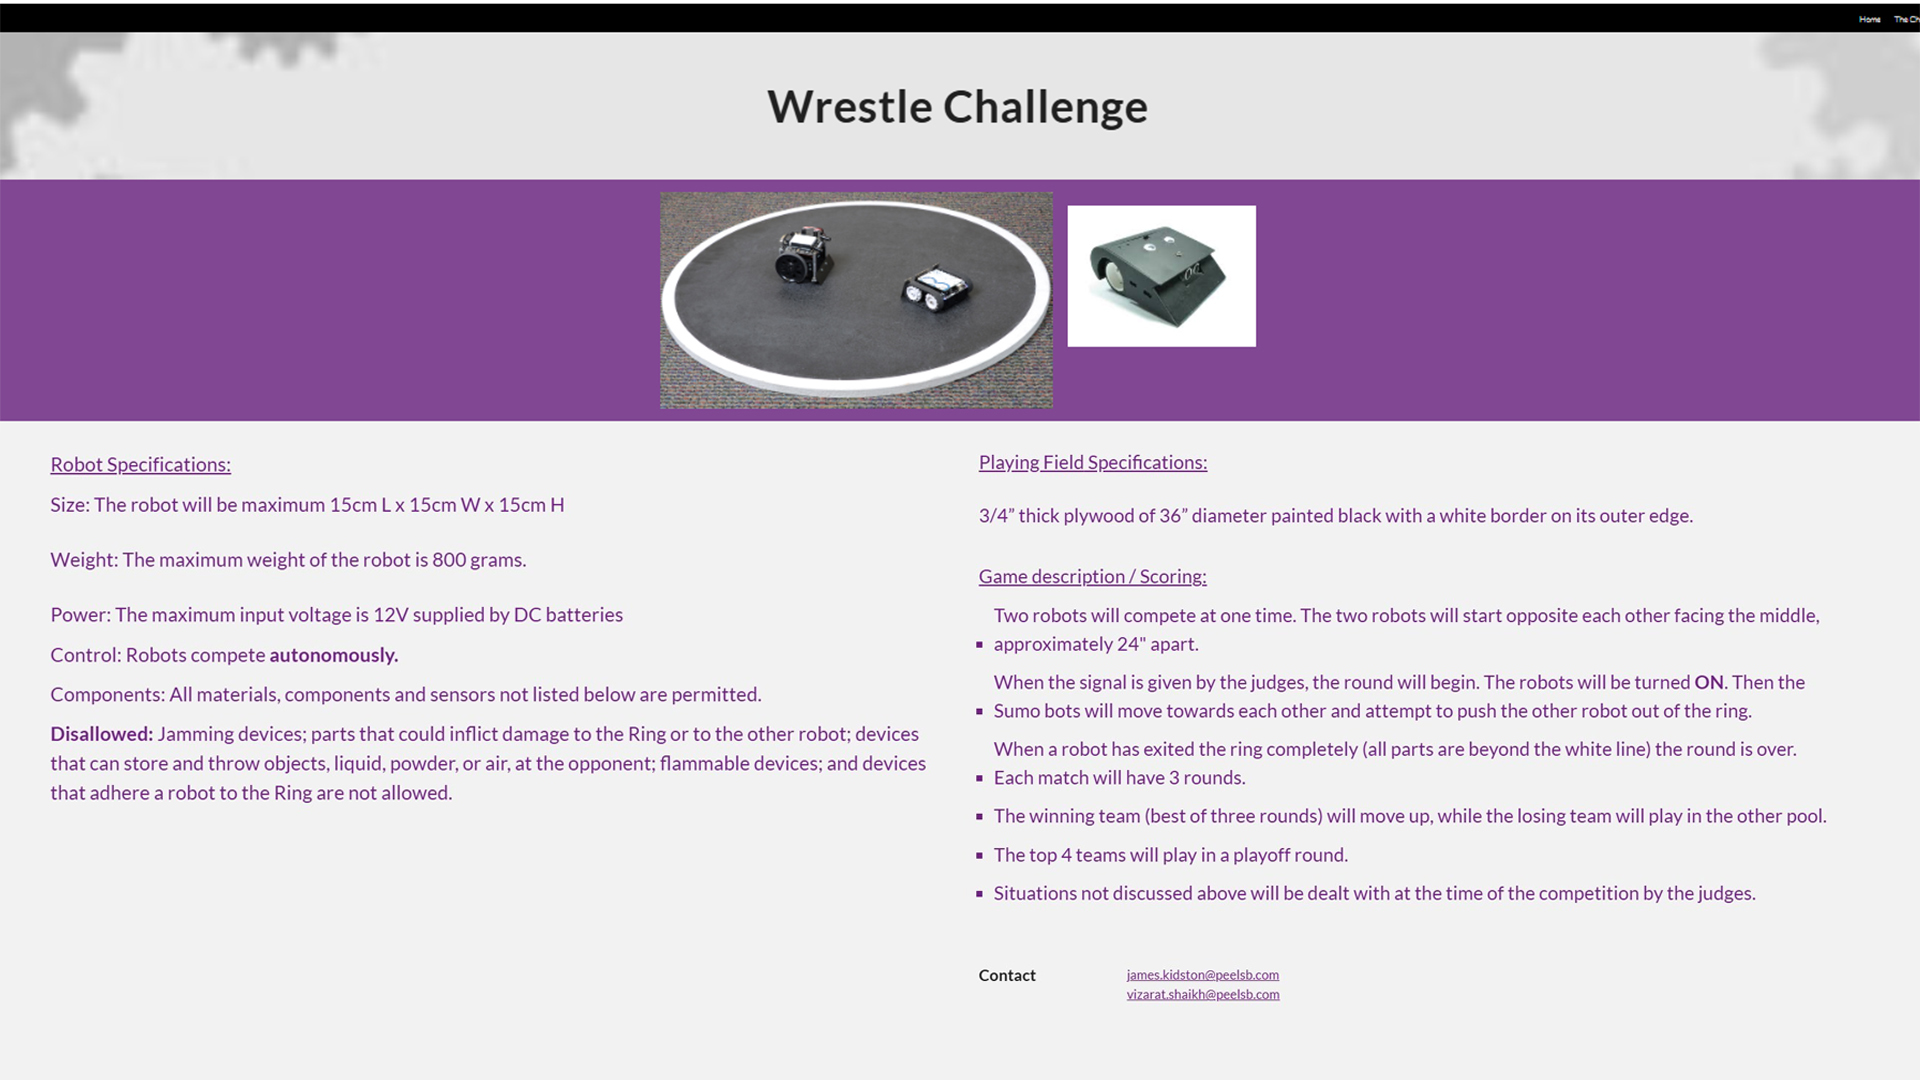
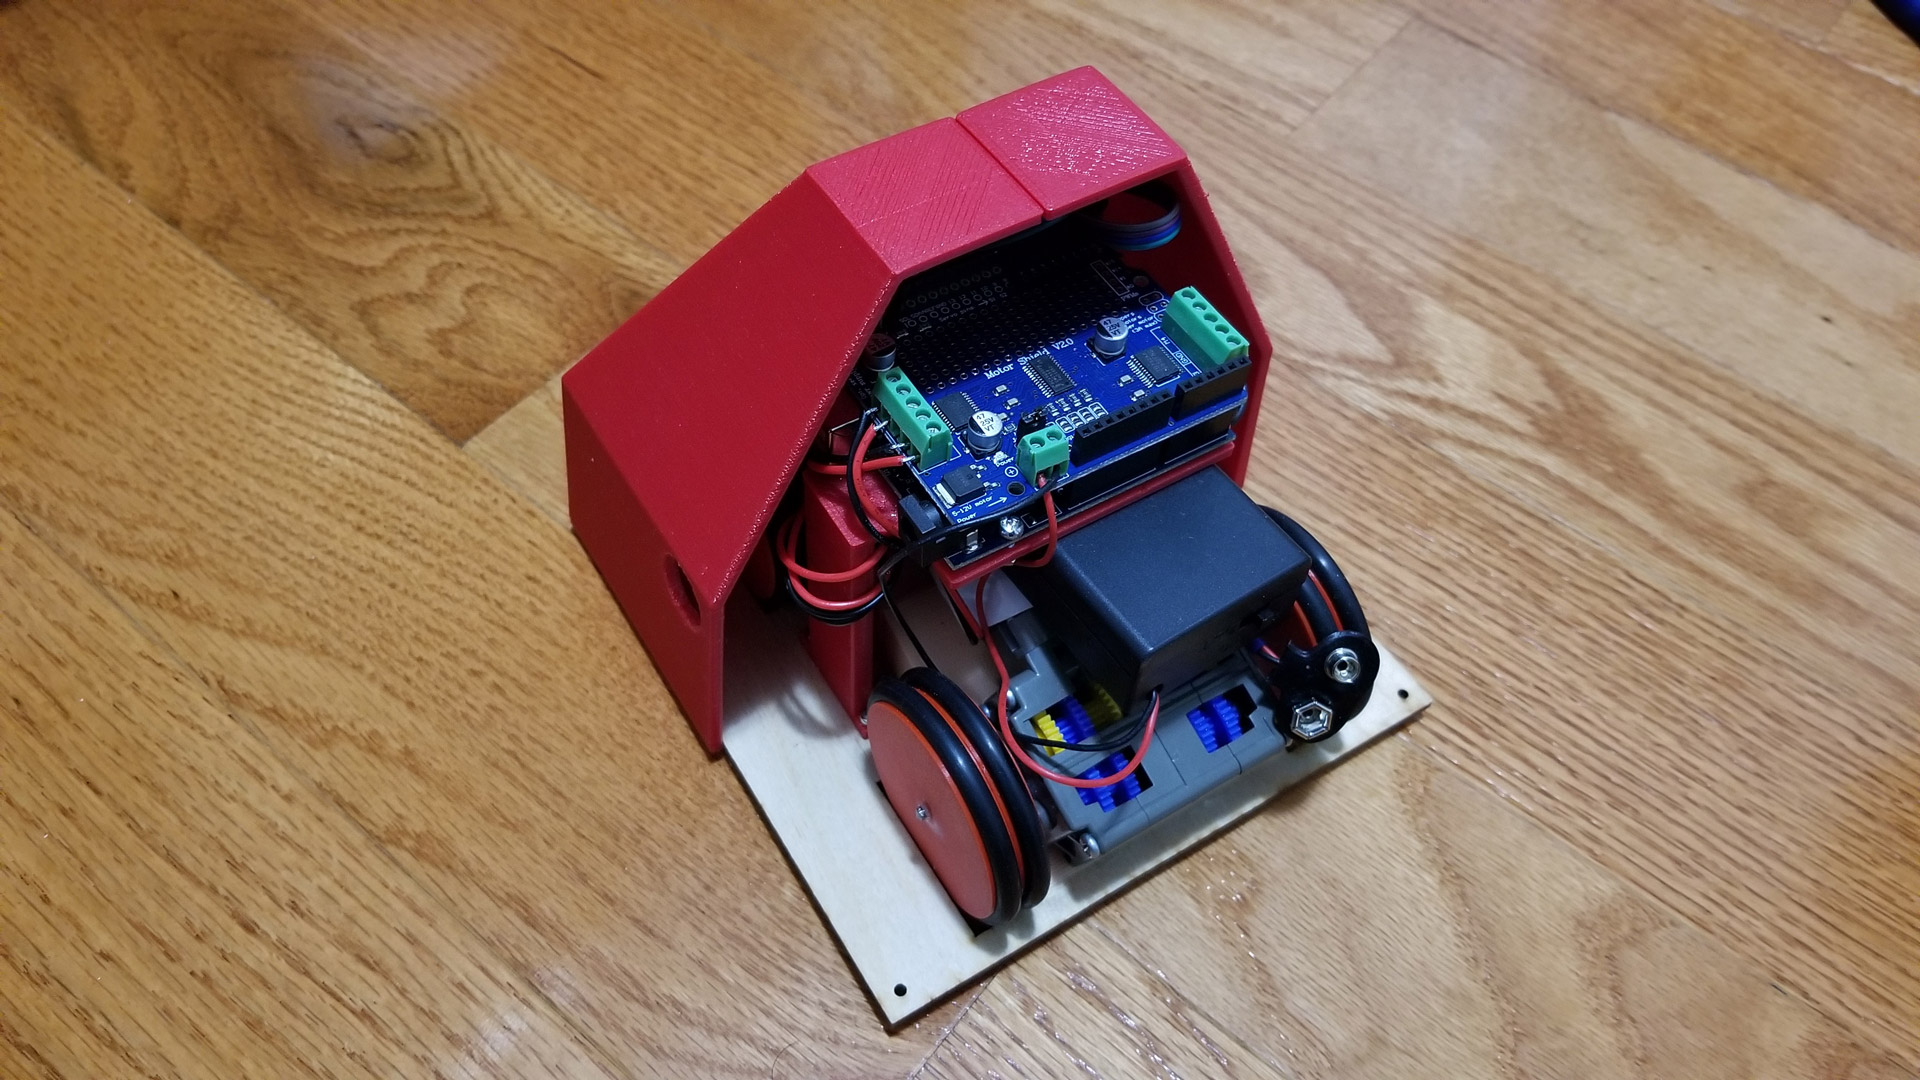
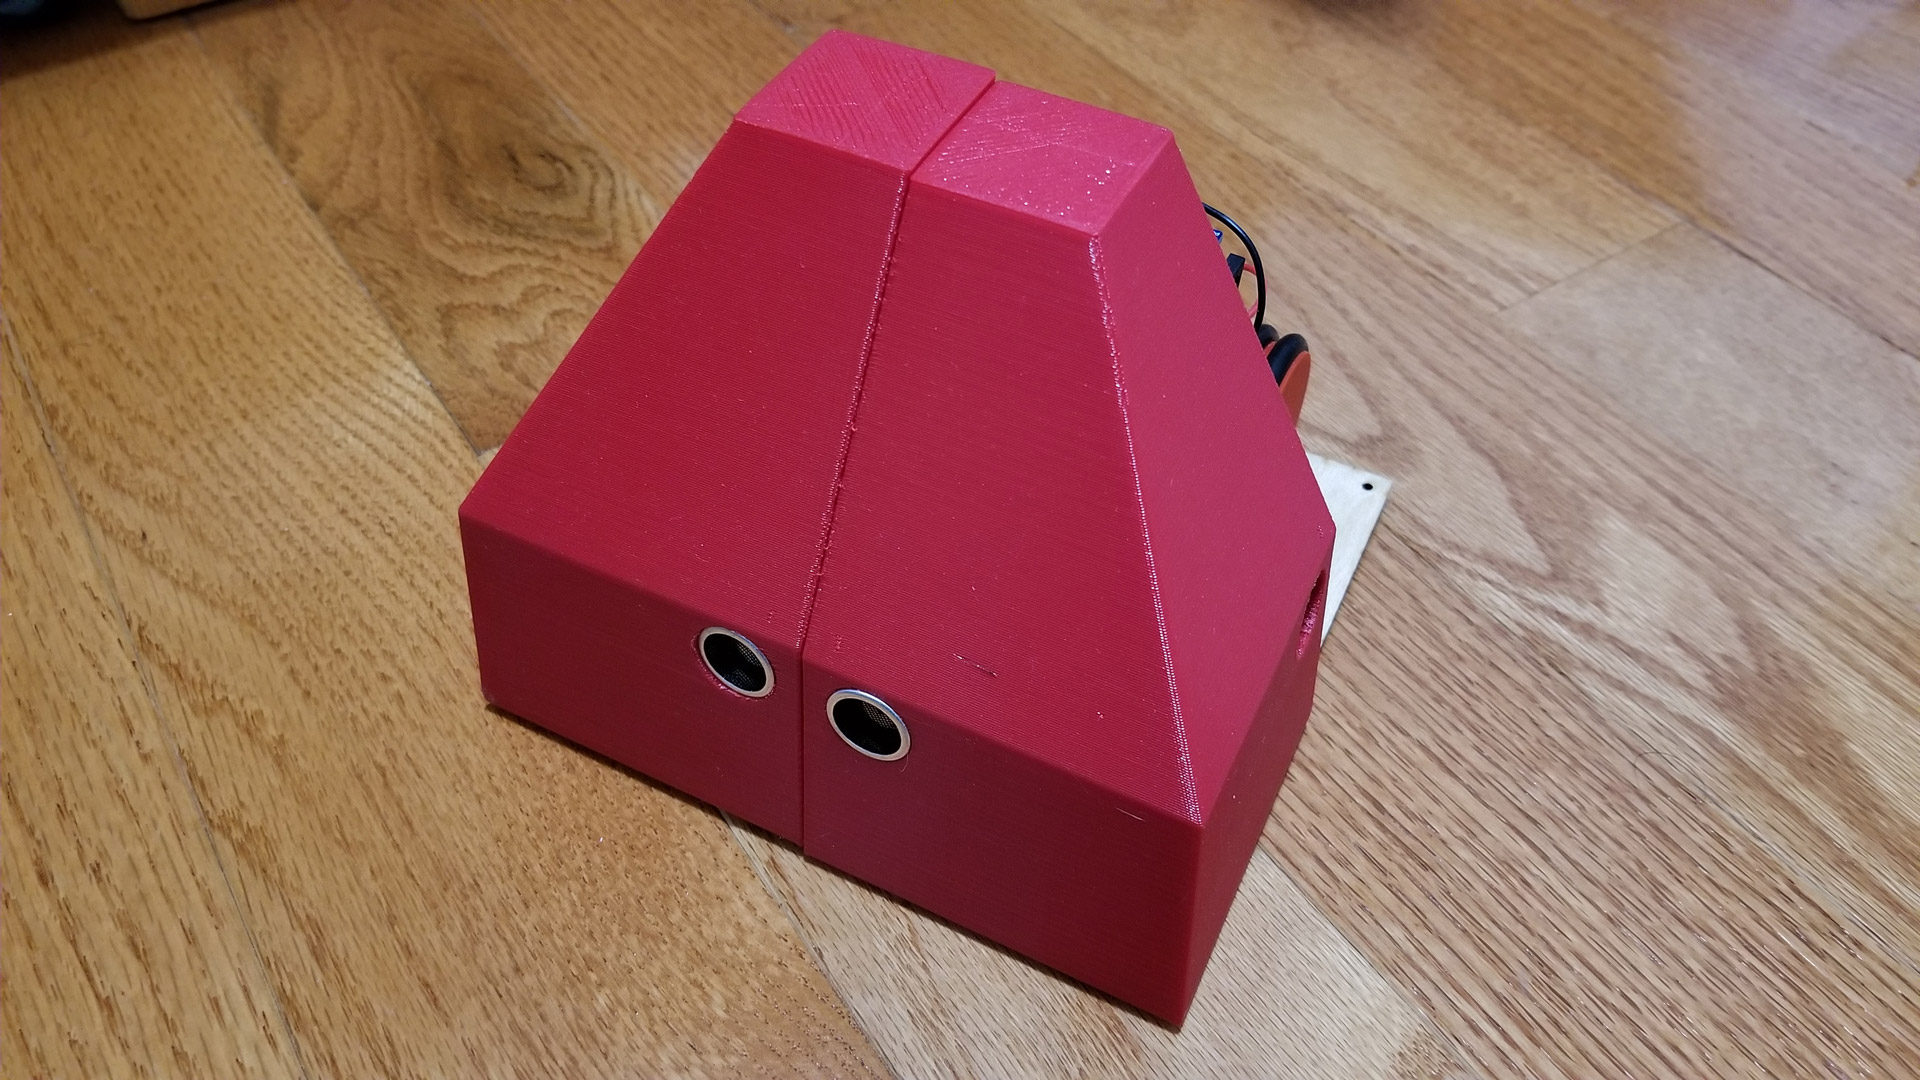
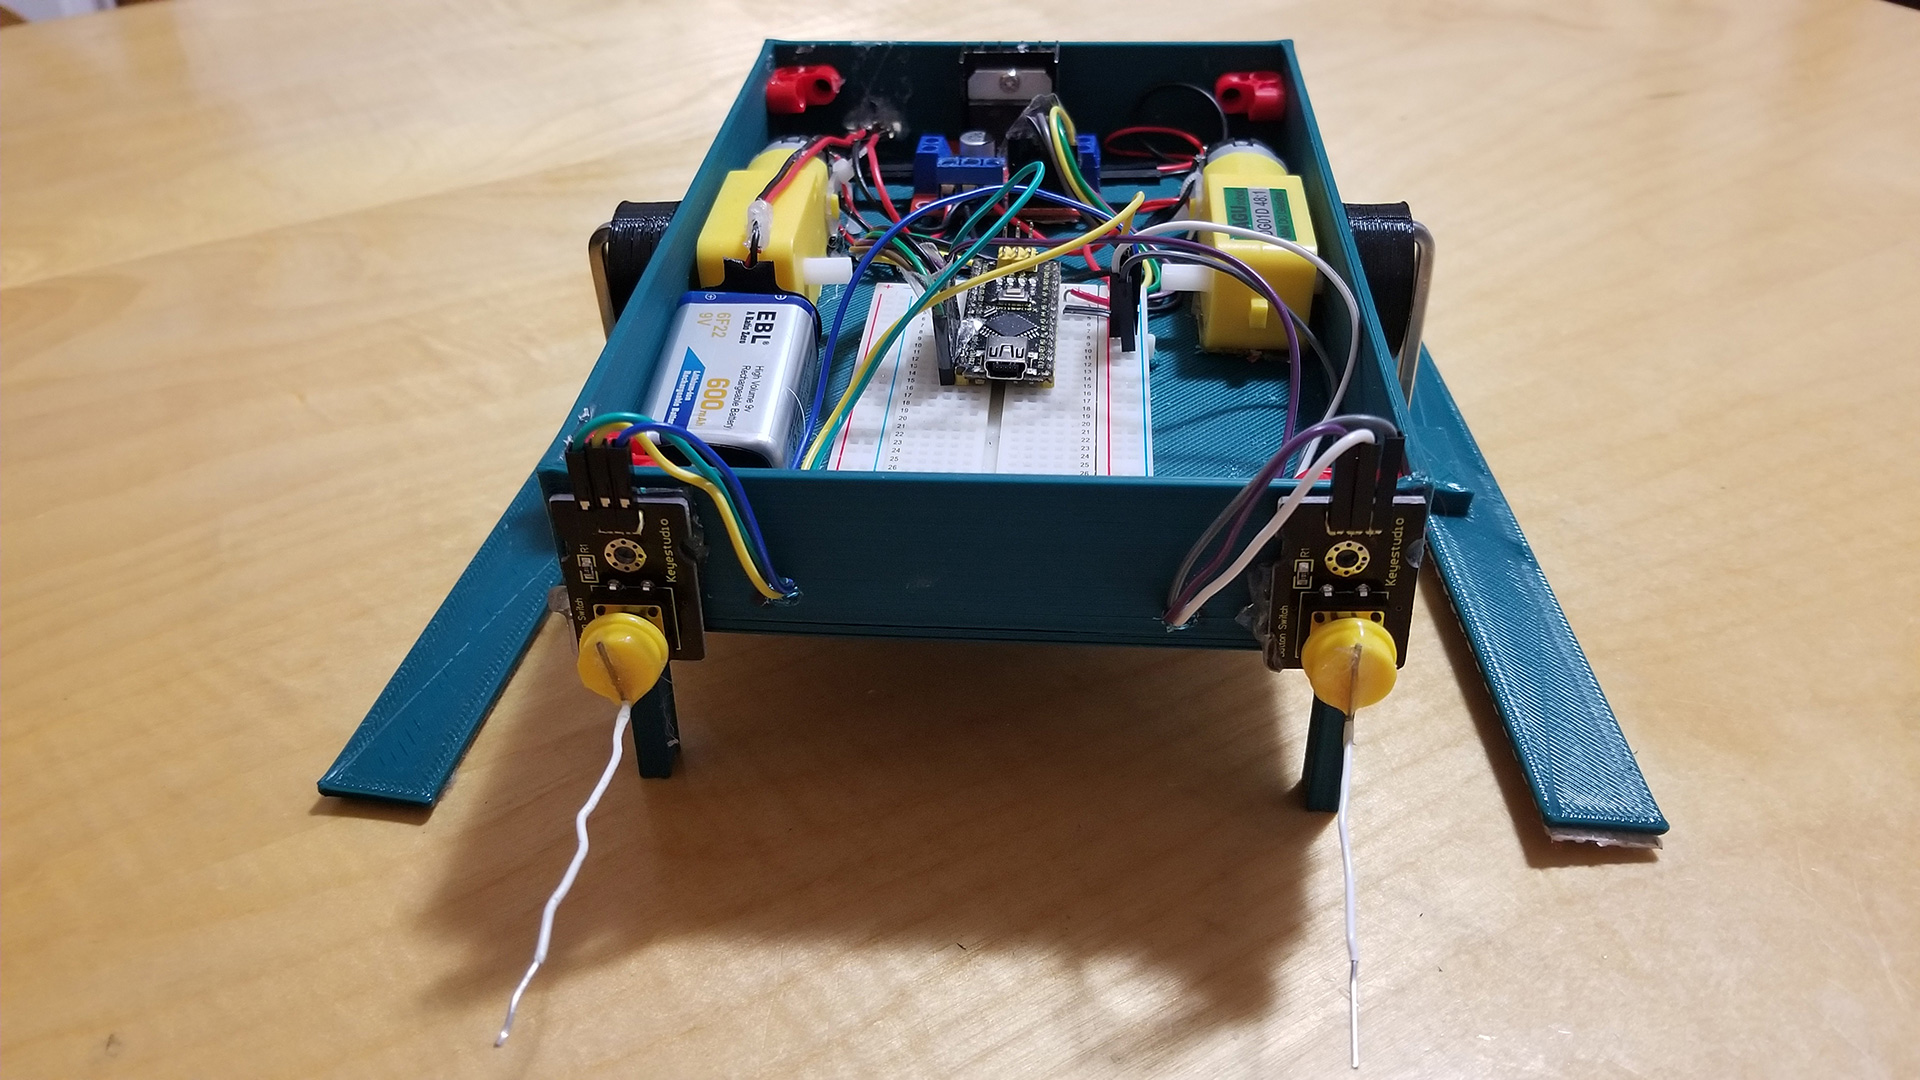
Sumo Bot
Introduction: The day's leading up to the CETA competition
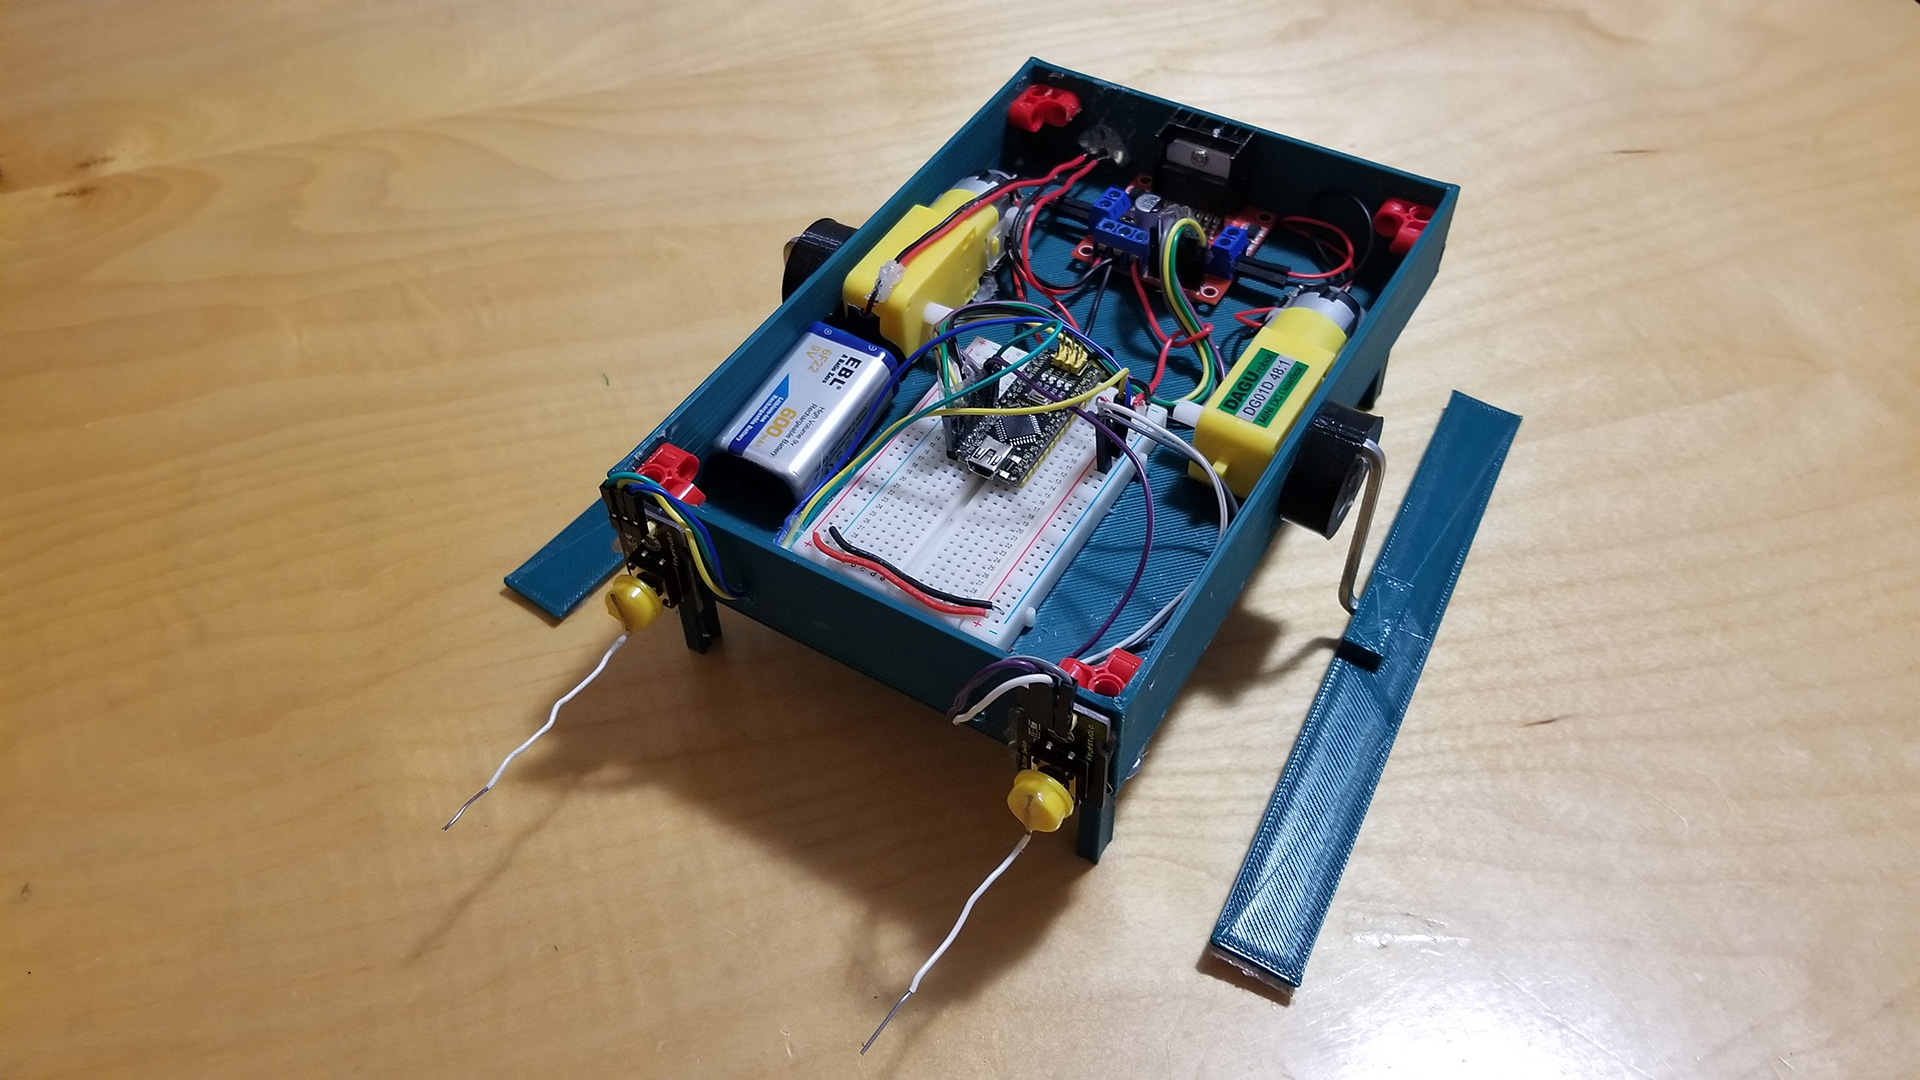
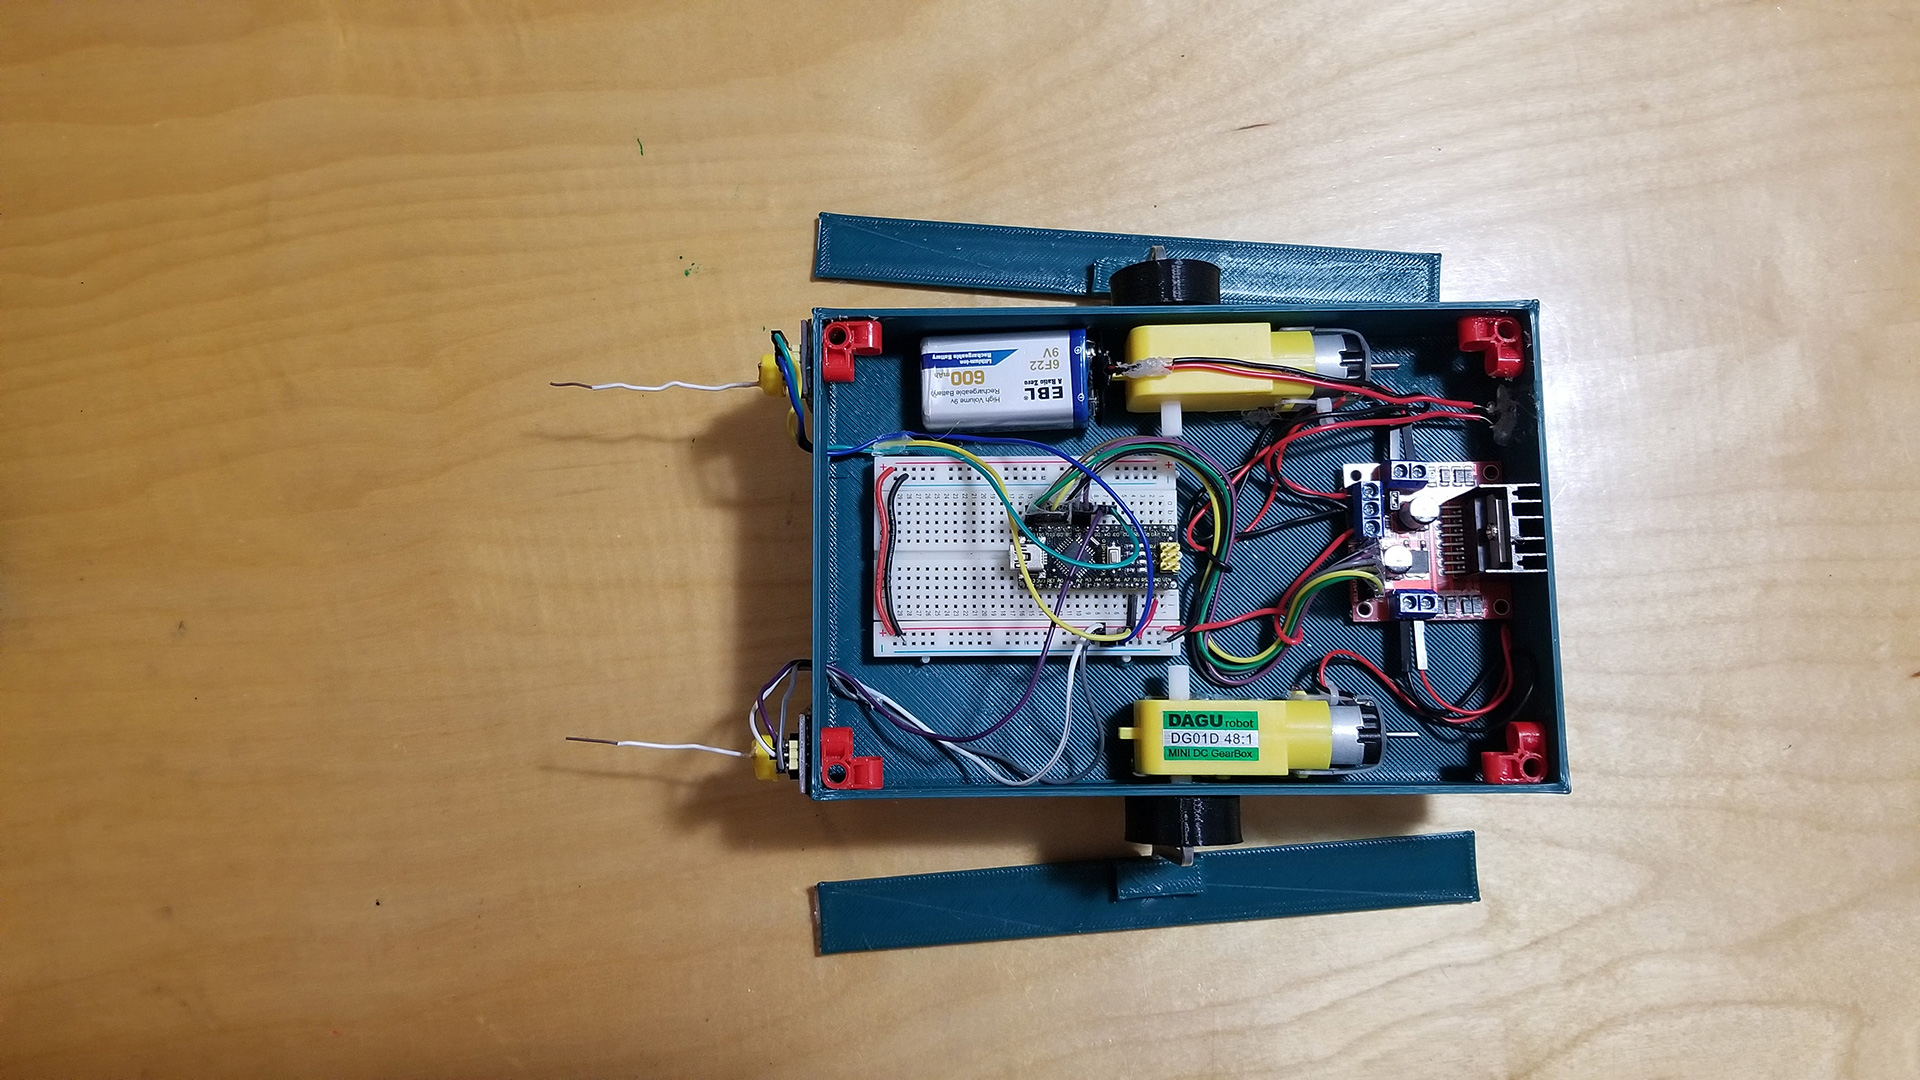
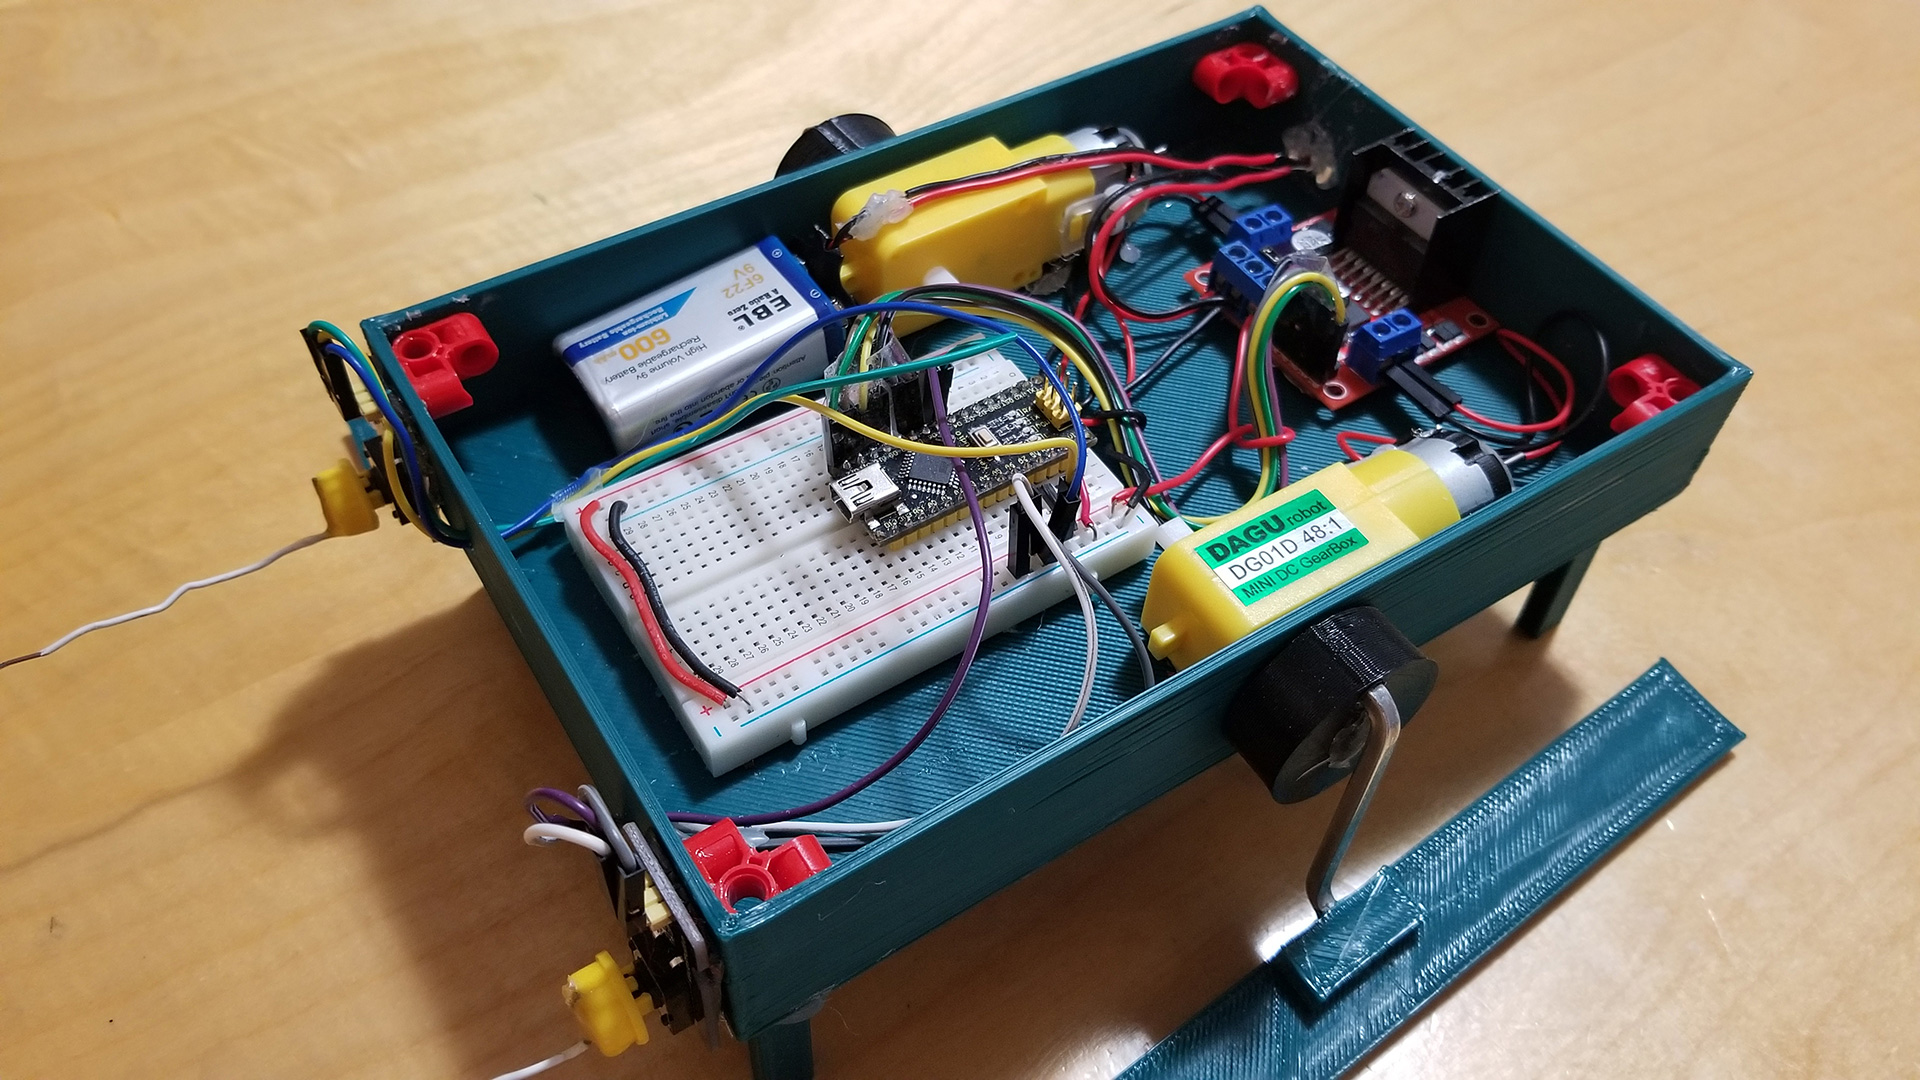
When I was tasked with designing a sumo bot to compete in the annual CETA competition, I had my work divided between mechanical and electrical design (https://sites.google.com/pdsb.net/2024-ceta-senior-robotics/the-challenge/wrestle-challenge). To begin with, due to a software glitch that prevented the distance code from running while the motor library functions where running. It had to do something with I2C communication taking up too much processing power and with the main function of the distance code being a delayed, it meant the program would simply not work. This resulted in me using the Arduino Uno to control the motors while the distance code would run on a separate Arduino Nano. To make all the necessary connections I decided to use dupont connectors, a mistake that would come to haunt me. During the competition at one point the connector responsible for bridging communication between the Arduinos disconnected. The solution was to crimp the connector using a plier to ensure a stable connection. For future reference, I will stick to either hard wired solder connections or connectors that are self-locking like Tamiya and Molex connectors (https://www.eurorc.com/page/157/rc-connectors-explained).
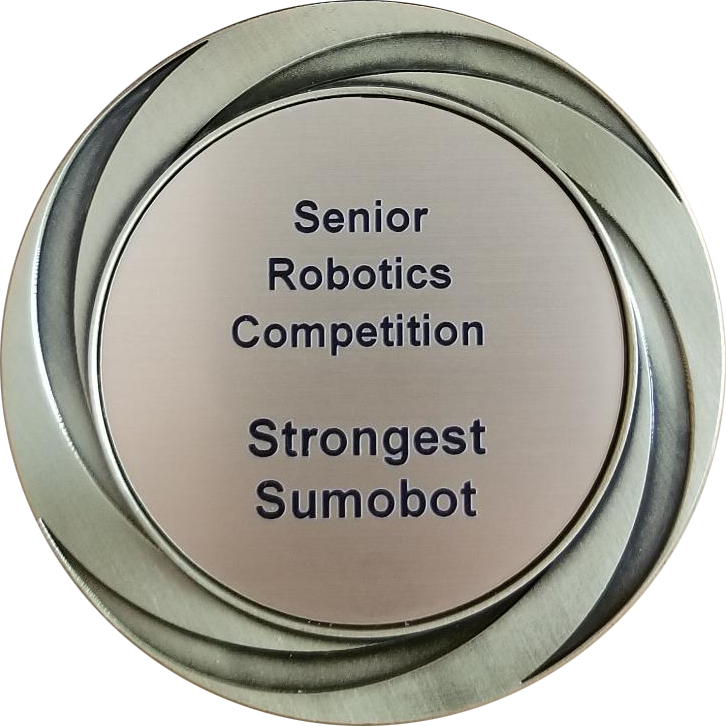
I won the gold medal for this interesting and challenging contest.
Conclusion: I was able to take this as a learning experience and made me realize the importance of the humble wire in any electrical circuit.